Add Vehicles in Route Planner
What are Vehicles?
Vehicles are core entities responsible for traveling to task locations and completing them based on the planned route. Each vehicle can be configured with a variety of attributes such as skills required for tasks, start or end locations, cost functions—including fixed costs, per-hour rates, and per-kilometer charges—which influence the overall route plan. Configure shift timings, capacity limits, task constraints, and speed adjustments for each vehicle to model real-world operating conditions for ensuring efficient task fulfillment.
How to Add Vehicles in Route Planner?
Uploading vehicle information into route planner is a required step to generate optimized routes. Route Planner uses the vehicle information to determine which vehicles must be used to carry out the specified tasks. Vehicles can be added to Route Planner through the following 2 methods:
We cover each method in detail in the following sections.
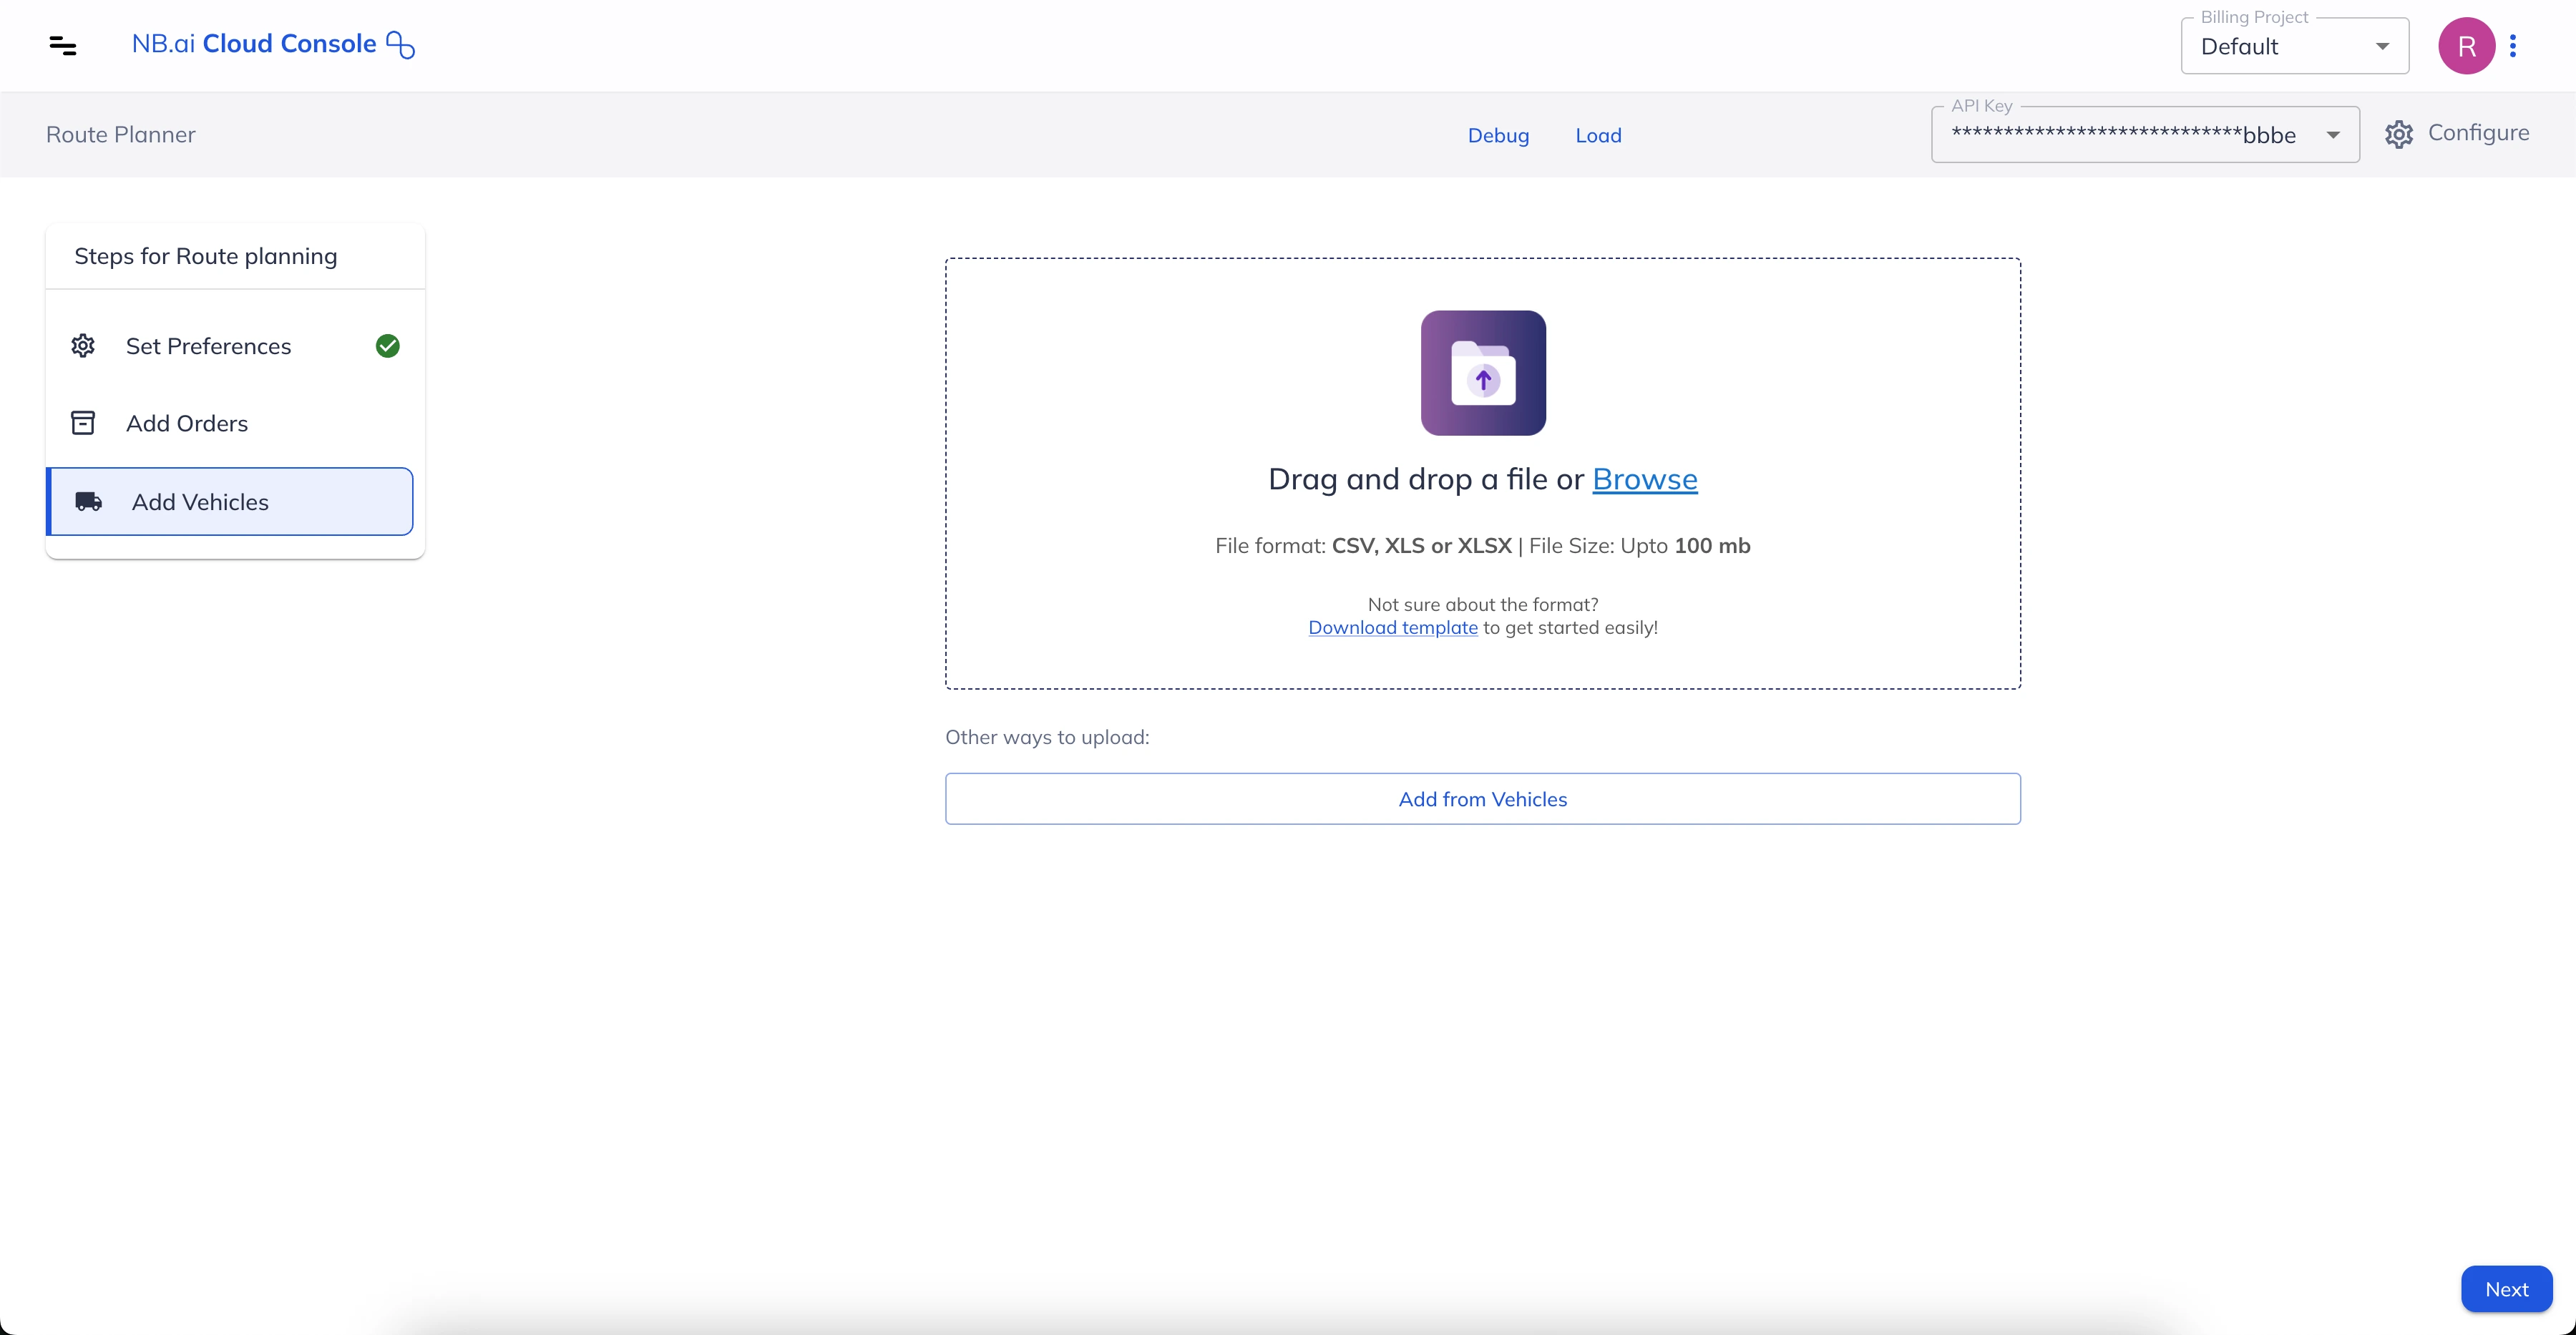
Import Vehicles using Files
This section explains how to upload and adjust the settings for each vehicle using a variety of file formats - CSV, XLS, XLSX. Refer to the Vehicles File - Input data fields and formats section to learn about data fields and formats supported in the vehicles file.
Once you import a Vehicles file and map its attributes, the Route Planner will automatically map those same attributes for all future imports of that file.
Here is an interactive demonstration of how to add vehicles using files:
Vehicles File - Input data fields and formats
Please ensure that the vehicle data in your file follows the expected format listed below:
| Item Name | Required | Description / Examples |
|---|---|---|
| Vehicle ID | Yes | A unique identifier for each vehicle. Supports text values. Example: “123” Example: “Vehicle 1” |
| Description | No | Any custom description for the vehicle, maybe the name, label, function, vehicle type or anything. It should only be in text. |
| Capacities | The maximum load capacity of the vehicle. You can provide capacities in multiple units/dimensions (e.g., weight, volume etc) in separate columns and map these columns to “Capacity 1”, “Capacity 2” and so on while adding map keys. Supports integer values only. | |
| Start Location | Provide the location from which the vehicle will start. You can either provide the latitude and longitude coordinates in separate columns or both of them together in a single column. While mapping, use the correct map keys to reflect the way in which locations have been added. This field is mandatory if none of “End Location”, “Start Depot IDs”, or “End Depot IDs” fields are provided. | |
| End Location | Provide the location from which the vehicle will start. You can either provide the latitude and longitude coordinates either in separate columns or the same one. While mapping, use the correct map keys to reflect the way in which locations have been added. This field is mandatory if none of “Start Location”, “Start Depot IDs”, or “End Depot IDs” fields are provided. | |
| Shift Start time | The time after which the vehicle is available to start a route. Format: YYYY-MM-DD HH:mm | |
| Shift End time | The time until which the vehicle is available for routing. Format: YYYY-MM-DD HH:mm | |
| Max Tasks | The maximum number of tasks that a vehicle can perform. A “job” constitutes a single task whereas a “shipment” constitutes two tasks - one each for pickup and dropoff. Only integer values are supported. Example: 10 | |
| Skills | The skills that the vehicle/driver possesses. When optimizing, the app will assign tasks to only the vehicle(s) having all the required skills needed to fulfill a job. It can take integer values only. Example: 1 | |
| Start Depot IDs | The depot ID from where the vehicle starts its route. Please note that in case of deliveries type “jobs”, the route planner models the routes in such a way that the required items are loaded into the vehicle at the starting depot. If a vehicle can start from any one of multiple depots, add all such depot IDs in separate columns and use the map keys “Start Depot 1”, “Start Depot 2” and so on, as needed. Only integer values are supported. | |
| End Depot IDs | The depot ID where the vehicle ends its route. Please note that in case of pickup type “jobs”, the route planner models the routes in such a way that the required items are dropped-off by the vehicle at the end depot. In case a vehicle can end its route at any one of multiple depots, add all such depot IDs in separate columns and use the map keys “End Depot 1”, “End Depot 2” and so on, as needed. Only integer values are supported. | |
| Speed Factor | A positive number indicating the factor by which the vehicle's speed should be adjusted, relative to normal speed, affecting the driving durations consequently. When speed factor is greater than 1, effective travel time will be less than the normal travel duration. Similarly, when speed factor is less than 1, effective travel time will be more than the normal travel duration. Please note that the speed factor value supports values greater than 0 up to a maximum of 5.0, with a precision of two digits after the decimal point. Example: 2.5 | |
| Fixed Cost | Specify a fixed cost incurred just by using the vehicle. It should be a positive integer. | |
| Cost Per Hour | Specify the cost incurred per hour that the vehicle is driven. It should be a positive integer. The cost of the route is determined by using this value. Example: 550 | |
| Cost per Km | Specify the cost incurred per kilometer that the vehicle travels. It should be a positive integer. The cost of the route is determined by using this value. Example: 100 | |
| Max Travel Cost | Specify the maximum cost a vehicle can incur while on a trip.The metric used for identifying the travel cost can be determined/configured in the “Options” menu of the import widget. It should be a positive integer. Example: 1000 |
Add Vehicles from Fleet Hub
Users can import their fleet or vehicle data from certain third-party fleet management platforms like - Samsara, Motive, Netradyne and Geotab and use them for generating optimized routes using NextBillion’ Route Planner.
In NextBillion Cloud Console, go to Fleet Hub > Integration to set up connections with third party platforms first, and then use the connection to import vehicle data using Fleet Hub > Vehicles. Reach out to NextBillion support in case of any issues.
Once the vehicles are available in NextBillion Cloud Console, they can be used in Route Planner to get optimized trips as and when needed. Here is a quick demonstration with all the steps involved in it.
The Route Planner attributes are auto-mapped for the fields imported from fleet vehicles.
The import process is completed once the vehicles are added. Click “Next” and process to submit the optimization problem.