Basic Map Display
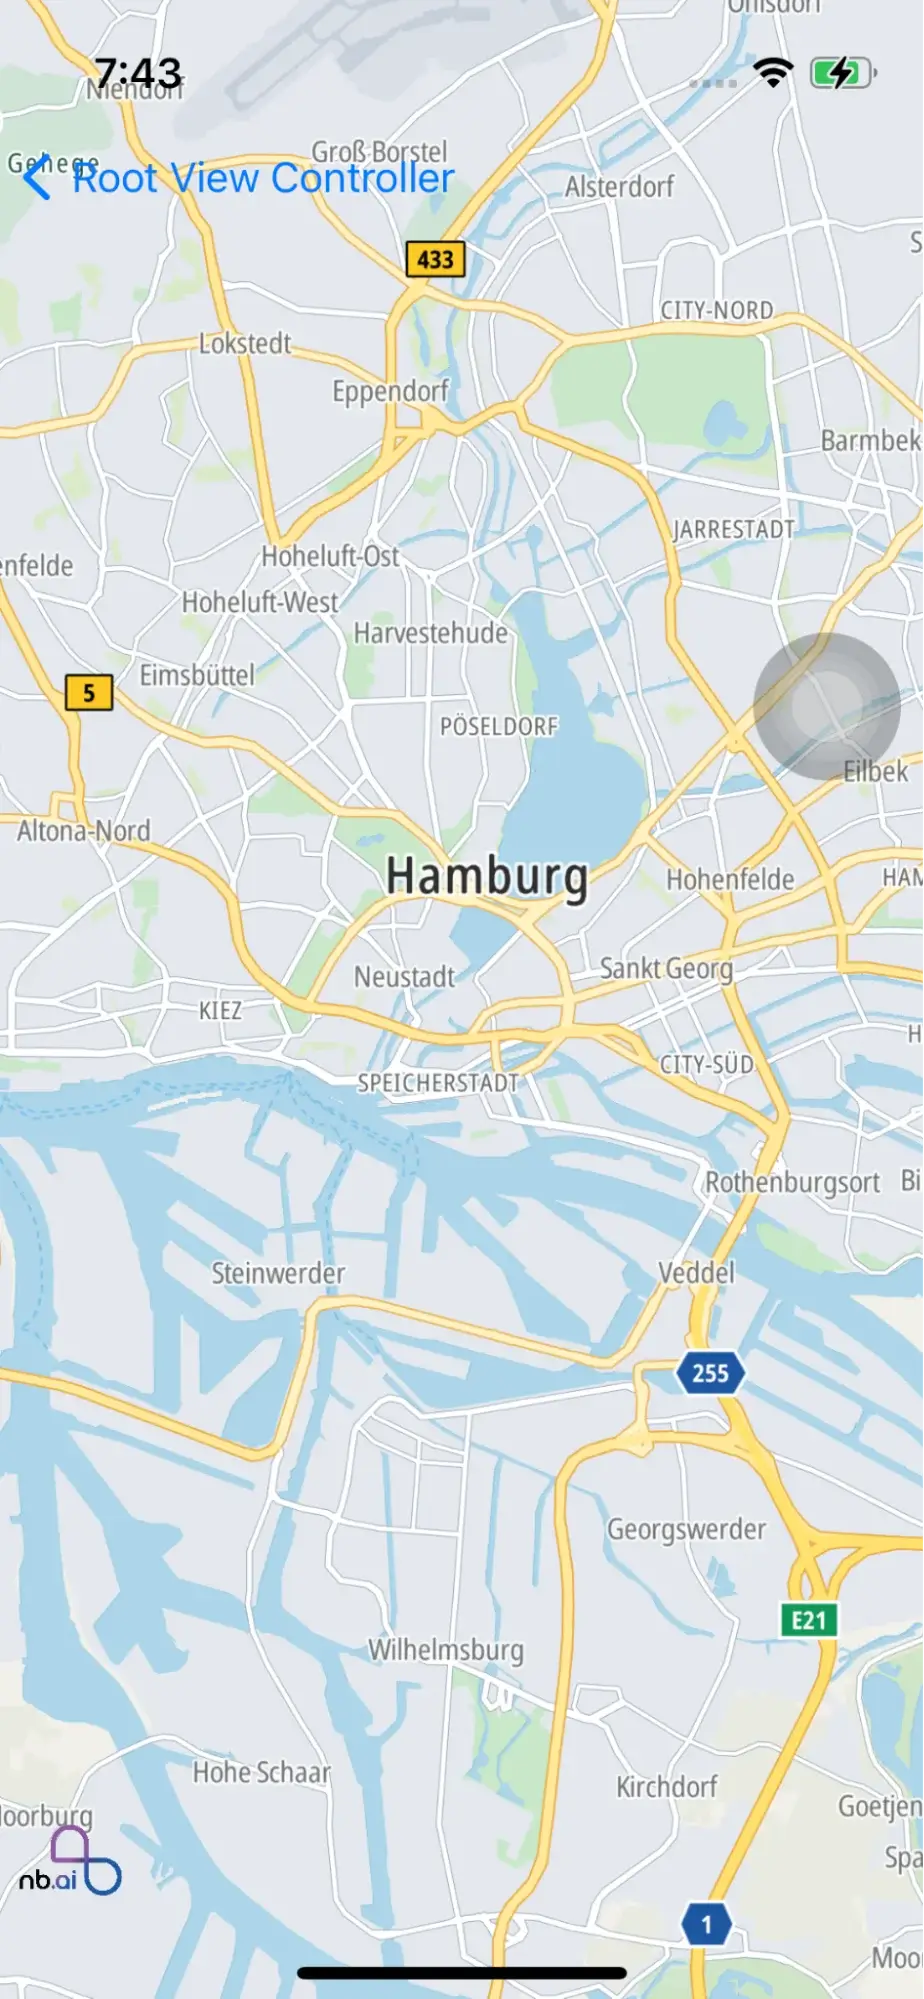
Incorporating a map into your iOS application is made easy with our SDK, which provides a preconfigured style for seamless integration. The provided code snippet showcases how to add a MapView to your application with minimal effort.
Code Summary
To begin, you'll need to create a MapViewController class that inherits from UIViewController. Inside this class, you'll find a variable named nbMapView of type NGLMapView. This variable is responsible for managing the MapView instance.
The didSet property observer ensures that the previous MapView instance is removed from the superview when a new instance is assigned to nbMapView. It then configures the new MapView by calling the configureMapView() function and inserts it as a subview in the view hierarchy.
The configureMapView() function allows for additional customization of the MapView. In the provided code, it sets the autoresizing mask to ensure the MapView adjusts its size based on its parent view.
Within the viewDidLoad() method of the MapViewController, a new instance of NGLMapView is created and assigned to the nbMapView variable. This initializes the MapView and sets its frame to match the bounds of the view controller's view.
By following this example, you'll be able to quickly add the first MapView to your iOS application, providing a foundation for further customization and interaction with the map.
Move camera position
In the process of working with a map in your iOS application, it may be necessary to adjust the camera position to focus on a specific location or area. This can be achieved by utilizing the Move Camera Position functionality provided by our SDK.
To demonstrate this, the provided code snippet shows how to move the map camera position to a desired location.
In the MapViewController class, a mapView delegate is set, allowing for the execution of custom behaviors when the map finishes loading.
Inside the mapView(_:didFinishLoading:) delegate method, a new NGLMapCamera instance is created. This camera object specifies the desired position by providing the coordinates of the center location, the distance across the view, the pitch and the heading. Adjust these values as needed to achieve the desired camera position.
Finally, the nbMapView.fly(to:) method is called, triggering the map to animate smoothly to the specified camera position. This provides a visually pleasing transition for the user.
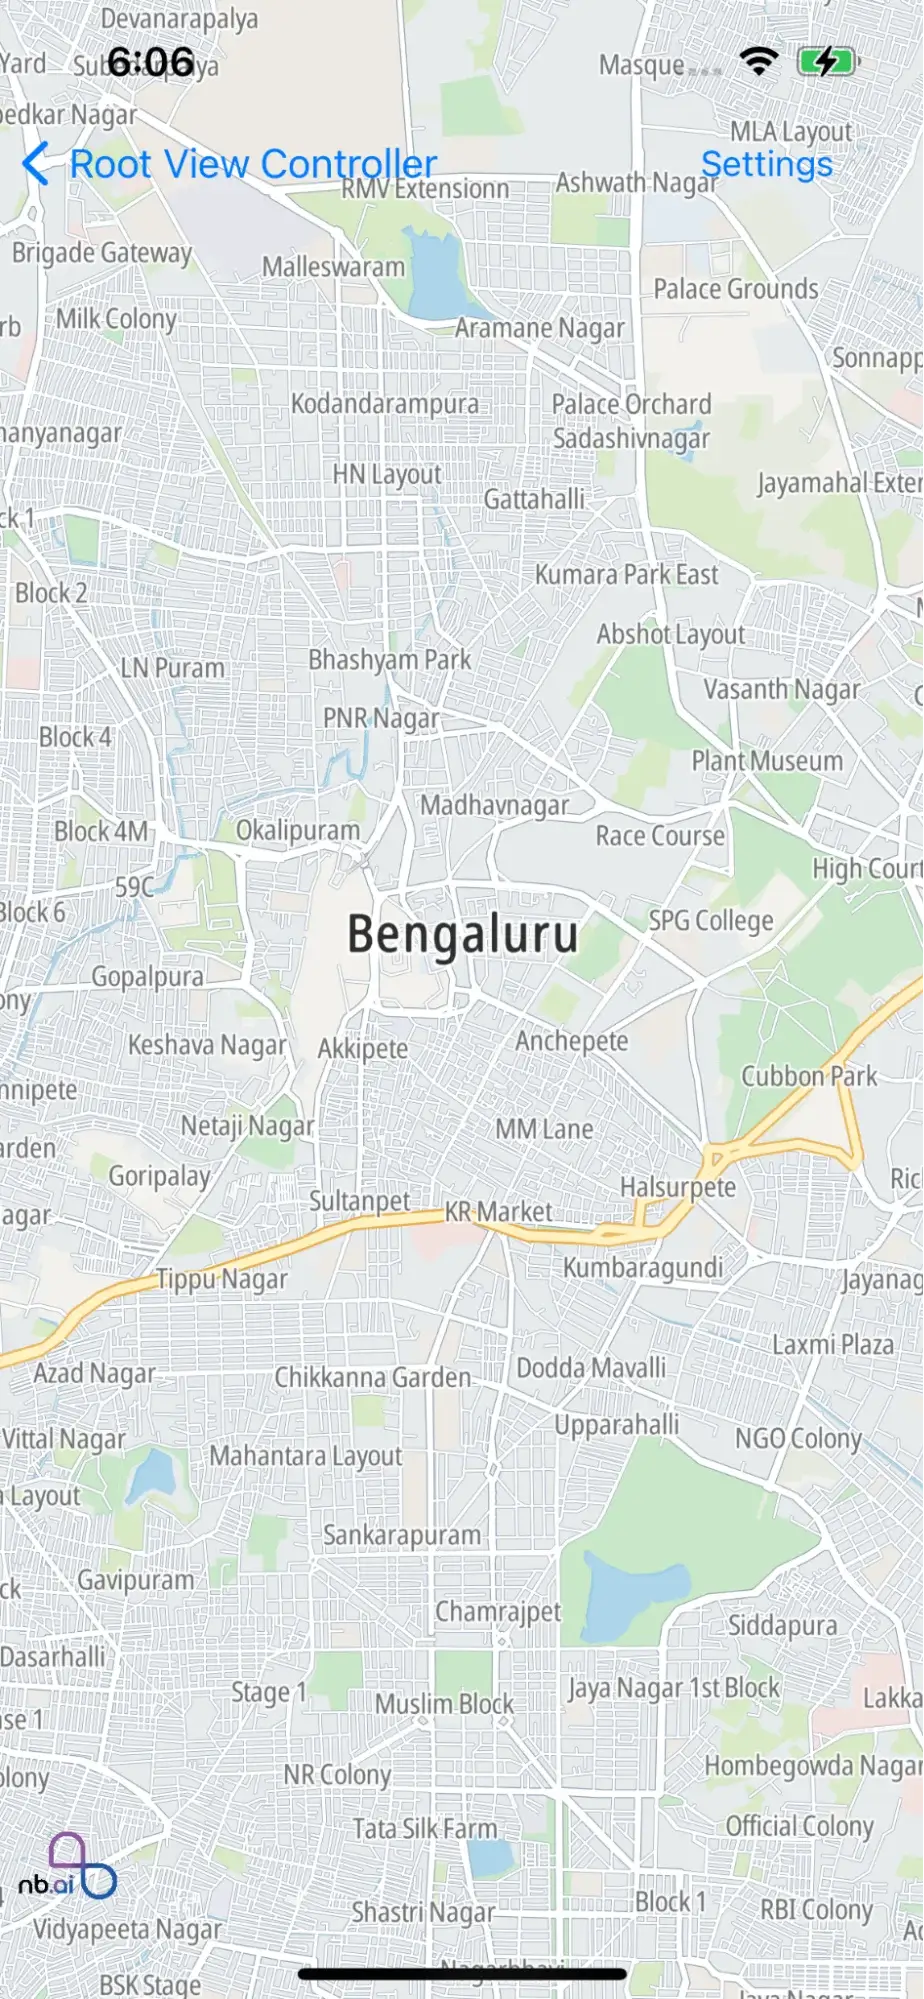
By following this example, you can easily implement the Move Camera Position functionality in your iOS application, allowing you to dynamically adjust the view and focus on specific areas or locations within the map.
Annotations
Annotations play a crucial role in providing visual markers and information on a map within an iOS application. They allow developers to highlight points of interest, specific locations, or custom data on the map surface. With the help of our SDK, incorporating annotations into your iOS application becomes effortless.
Add Markers to MapView
Adding markers to a MapView is a fundamental task when working with maps in an iOS application. Markers serve as visual indicators on the map to represent specific locations or points of interest. With the help of our iOS SDK, incorporating markers into your MapView becomes a seamless process.
The provided code snippet demonstrates how to add markers to the MapView.
In the MarkerViewController class, the nbMapView instance is set up and configured. The addMarker() method is then called, which adds multiple markers to the MapView. Inside the addMarker() method, an array of CLLocationCoordinate2D objects is created, representing the desired marker locations. The current annotations on the MapView are first removed, and then new NGLPointAnnotation objects are added for each coordinate in the array. These annotations are customized with their respective coordinates. By utilizing the addAnnotations() method of the MapView, the markers are added to the map surface, visually representing the specified locations. In the mapView(_:didFinishLoading:) delegate method, a camera position is set to focus on a specific coordinate, ensuring that the markers are visible on the MapView. The nbMapView.fly(to:) method is then called to animate the camera movement to the specified position.
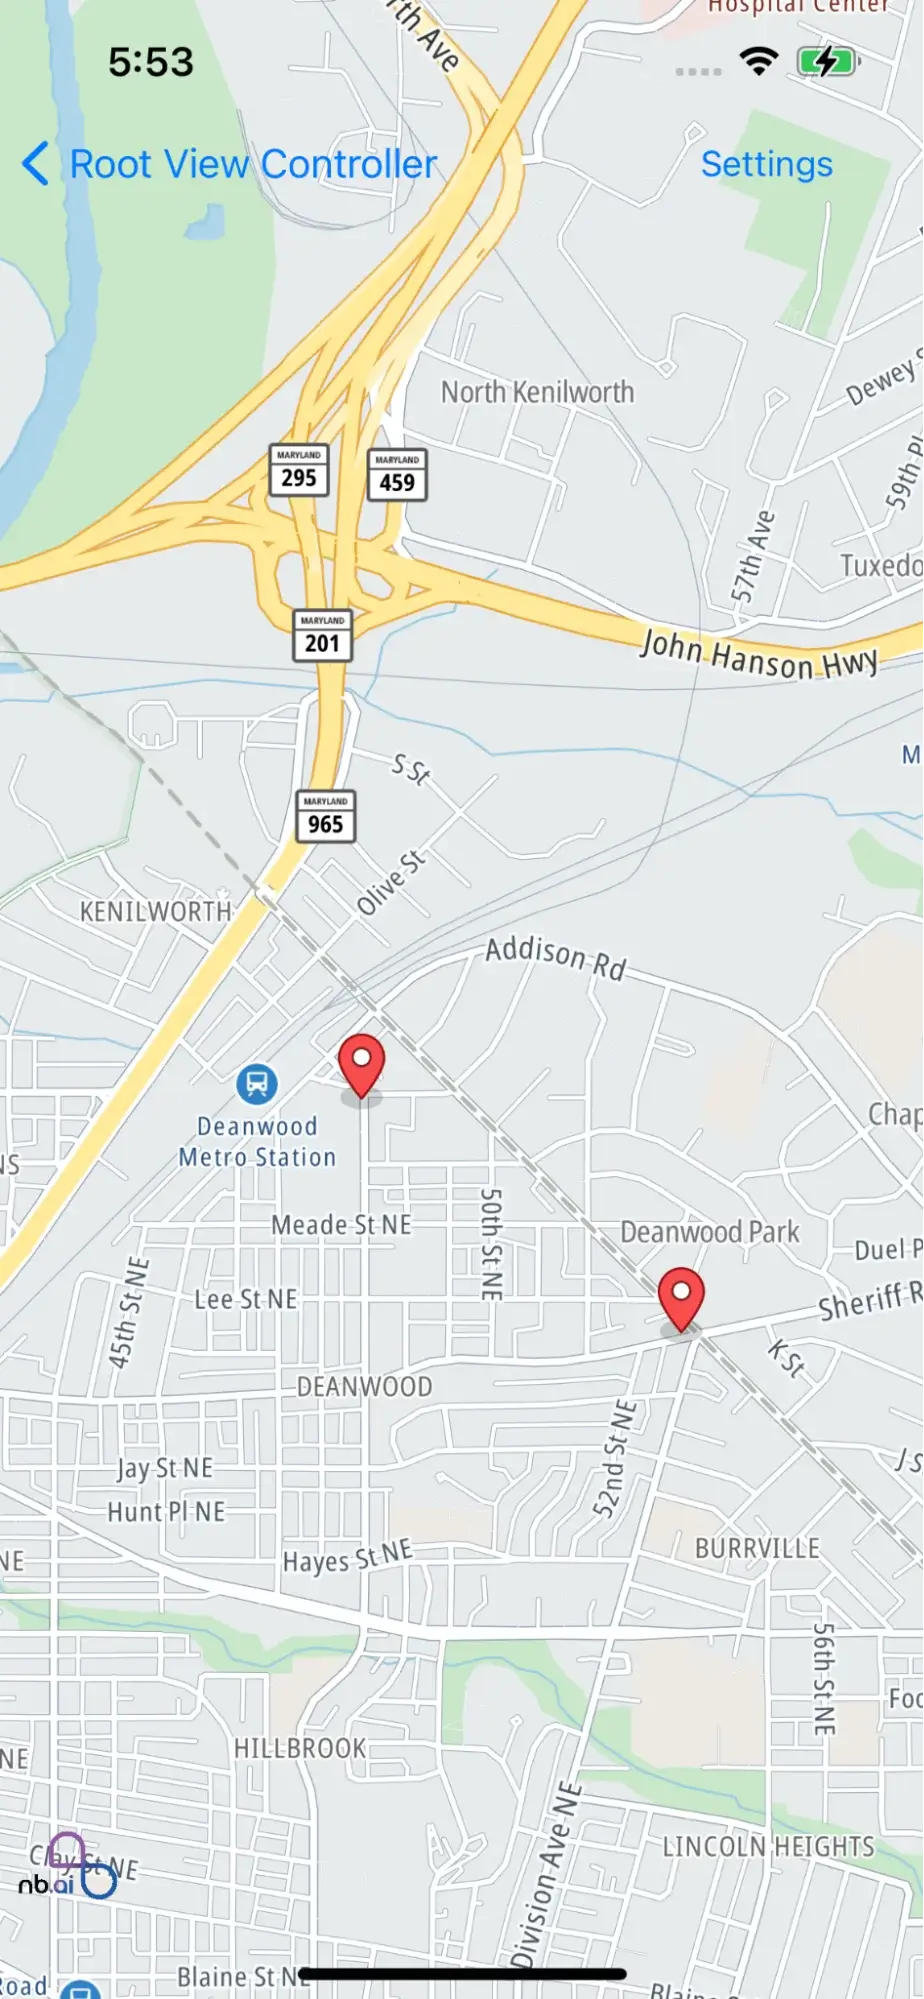
By following this example and incorporating the provided code into your iOS application, you can easily add markers to the MapView, enabling you to highlight important locations or points of interest within your map-based application.
Add a Polyline to MapView
Adding a polyline to a MapView can greatly enhance the visual representation of routes or paths in your iOS application. Our SDK simplifies the process of incorporating a polyline by providing a default polyline style that you can easily integrate.
The provided code snippet demonstrates how to add a polyline to the MapView.
In the MapViewController class, the nbMapView instance is set up and configured. The drawPolyline() method is called within the didSet property observer of nbMapView, ensuring that the polyline is drawn when the MapView is ready.
Inside the drawPolyline() method, a polyline is created using the provided array of CLLocationCoordinate2D objects. This array represents the coordinates that form the points of the polyline. If the array contains more than one coordinate, the polyline is added as an annotation to the MapView using the nbMapView.addAnnotation() method.
In the mapView(_:didFinishLoading:) delegate method, a camera position is set to focus on a specific coordinate, ensuring that the added polyline is visible on the MapView. The nbMapView.fly(to:) method is then called to animate the camera movement to the specified position.

By following this example and incorporating the provided code into your iOS application, you can easily add a polyline to the MapView. The specified coordinates will be connected by a line, allowing you to display routes, paths, or any other desired lines on the map.
With the ability to add polylines to the MapView, you can effectively visualize routes, highlight paths, or display other line-based information within your map-based iOS application.
Add a Polygon to MapView
Incorporating polygons into your MapView can be an effective way to highlight specific areas or define boundaries in your iOS application. With our SDK, adding a polygon to the MapView is made simple by following a similar logic to that of drawing polylines. The provided code snippet demonstrates how to add a polygon to the MapView.
Inside the MapViewController class, the nbMapView instance is set up and configured. The drawPolygon() method is called within the didSet property observer of nbMapView, ensuring that the polygon is drawn when the MapView is ready.
Within the drawPolygon() method, a polygon is created using the array of CLLocationCoordinate2D objects. These coordinates define the vertices of the polygon, and the count parameter specifies the number of vertices in the array. If there are existing annotations on the MapView, they are removed before adding the polygon annotation using the nbMapView.addAnnotation() method.
In the mapView(_:didFinishLoading:) delegate method, a camera position is set to focus on a specific coordinate, ensuring that the added polygon is visible on the MapView. The nbMapView.fly(to:) method is then called to animate the camera movement to the specified position.
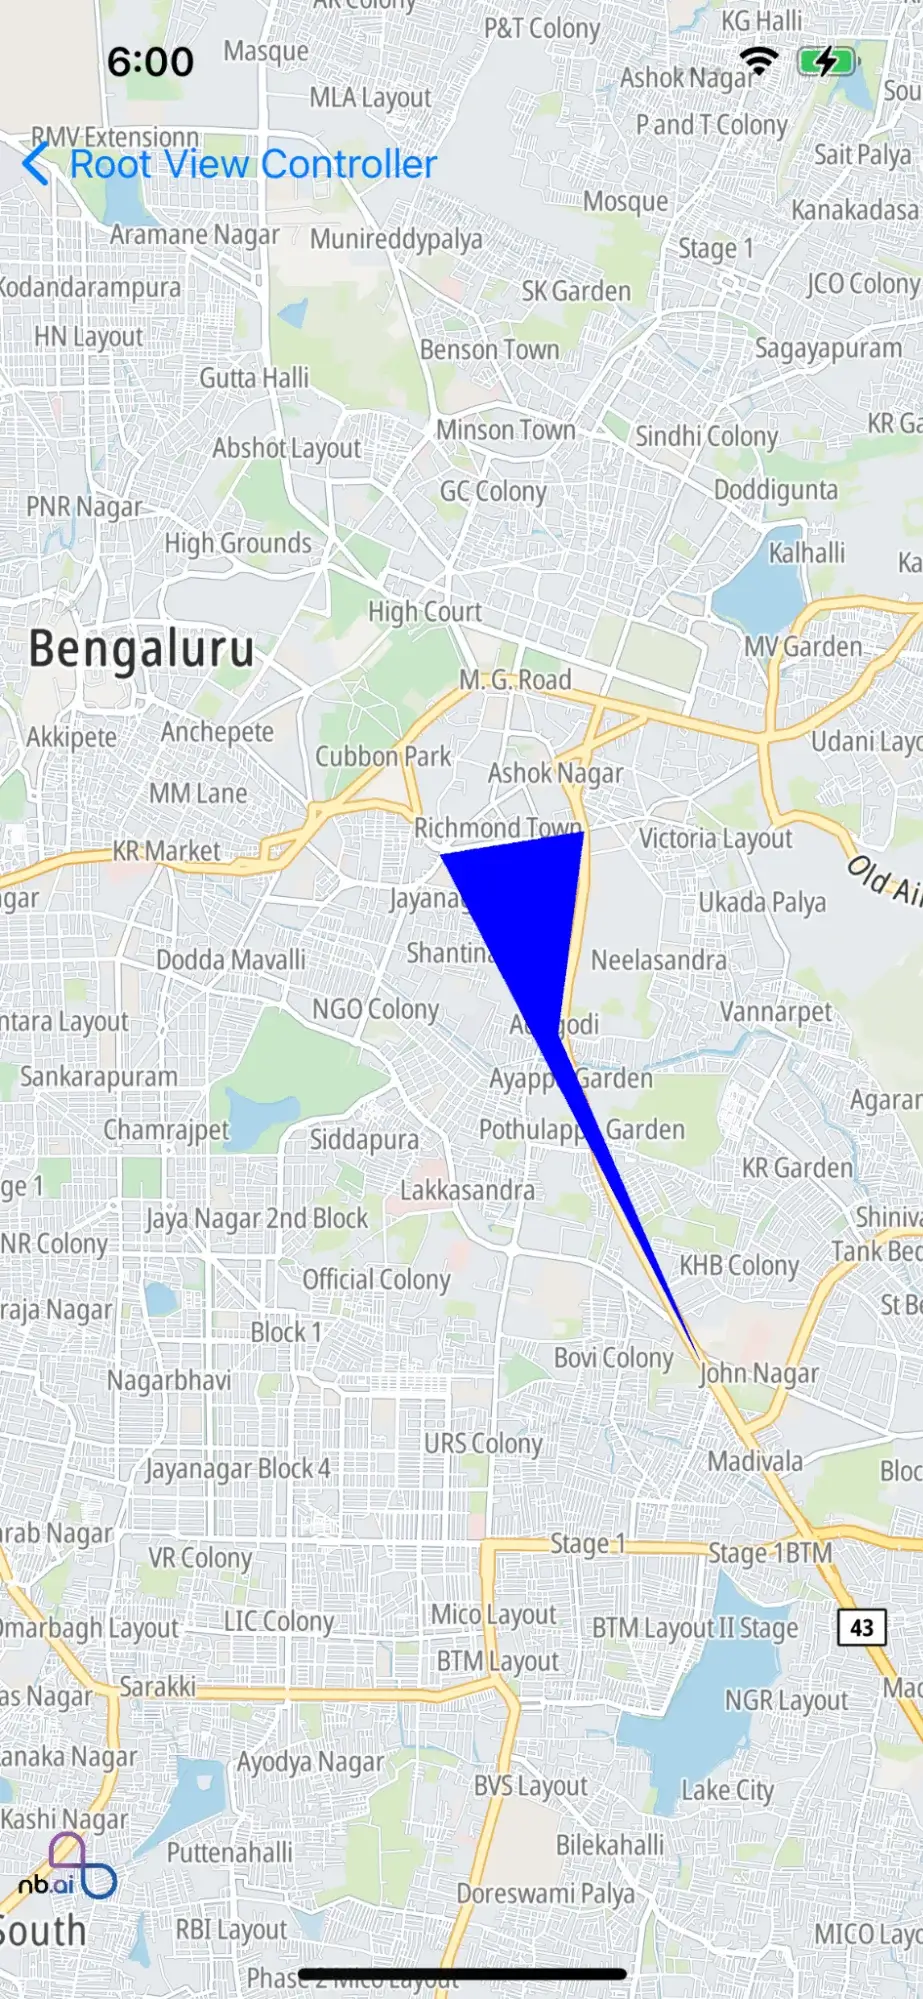
By following this example and incorporating the provided code into your iOS application, you can easily add a polygon to the MapView. The specified coordinates will form the boundary of the polygon, allowing you to visually represent areas or boundaries on the map. With the ability to add polygons to the MapView, you can effectively showcase specific areas, boundaries, or any other enclosed regions within your map-based iOS application.
Add a Route Line to MapView
To display a route line, first fetch route geometry from your routing service, then render it on the map as a shape source and line style layer.
Recommended flow:
- Get route geometry (GeoJSON or encoded polyline) from your routing backend.
- Convert geometry to NGLShape / NGLFeature.
- Add NGLShapeSource to map style.
- Create NGLLineStyleLayer and set line color / width.
- Add the layer after style load is complete in mapView(_:didFinishLoading:).
Note: Route fetching capability is provided by your routing API/service, not by the base map rendering API alone.
After adding the route layer, adjust camera bounds so the full route is visible. Use the style-load callback as the safe point to add route source and layers.