Getting Started
This section provides an overview of the steps required to install and configure the Navigation SDK, enabling developers to add advanced turn-by-turn navigation capabilities to their iOS applications. Whether you are building a ride-sharing app, a delivery app, or any other app that requires navigation functionality, this guide will help you get up and running quickly. By the end of this guide, you will have a basic navigation app that you can build upon to add your own custom features.
Prerequisites and Requirements for Using the SDK
Before using the iOS Navigation SDK, ensure that your development environment meets the following requirements:
-
Xcode 13.2.1
-
Carthage v0.38 or above
-
Swift 5.5.2
-
Minimum deployment target: iOS 11.0
-
Access Key: if you don’t have your Access Key yet, don’t hesitate to contact us
Please note that using an outdated version of any of the above tools may result in compatibility issues and may not be supported by the Navigation SDK.
Configure public token
To configure your public access token, open your project's Info.plist file and add an NBMapAccessKey key whose value is your public access token.
Set permissions
Users expect the SDK to continue to track the user’s location and deliver audible instructions even while a different application is visible or the device is locked. To do this, Make sure you have added the NSLocationAlwaysUsageDescription and NSLocationWhenInUseUsageDescription into the Info tab.
Installation Instructions
Installing the iOS navigation SDK in the iOS development environment is a prerequisite for adding navigation features to an application. In this process, developers will need to configure their Xcode project settings and add the necessary dependencies to their projects. This introduction will provide an overview of the steps required to install the iOS navigation SDK, enabling developers to integrate advanced navigation capabilities into their iOS applications.
Add the Dependency
Carthage
Carthage is a dependency manager for iOS projects that simplifies integrating third-party libraries. The Carthage section in the iOS Navigation SDK includes all necessary dependencies, such as NbMapDirection and NbmapCoreNavigation, for the Navigation SDK to function properly. It streamlines the integration of turn-by-turn navigation into an iOS app.
Install Carthage
Visit https://github.com/Carthage/Carthage#installing-carthage to install Carthage.
There are various methods to facilitate Carthage installation
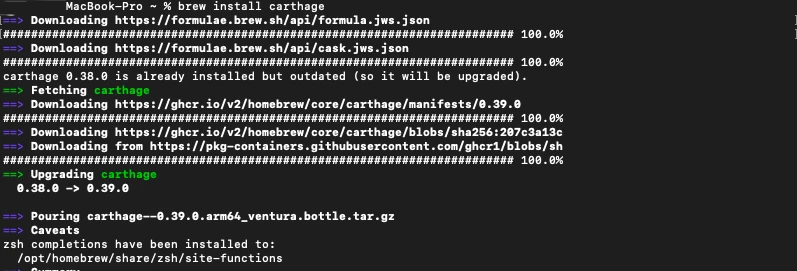
Homebrew(recommend)
You can use Homebrew and install the Carthage tool on your system simply by running brew update and brew install Carthage. (note: if you previously installed the binary version of Carthage, you should delete /Library/Frameworks/CarthageKit.framework).
If you previously installed the binary version of Carthage, you should delete /Library/Frameworks/CarthageKit.framework.
Installer:
To employ this method, download and execute the Carthage.pkg file corresponding to the latest release, and adhere to the instructions presented on-screen. In scenarios where the command-line interface (CLI) is utilized for pkg installation, executing sudo chown -R $(whoami) /usr/local may be required initially.
In cases where the binary version of Carthage was installed previously, it is imperative to remove /Library/Frameworks/CarthageKit.framework.
MacPorts:
To employ MacPorts for Carthage installation, execute the following commands: sudo port selfupdate and sudo port install carthage. Note: In cases where the binary version of Carthage was installed previously, it is imperative to remove /Library/Frameworks/CarthageKit.framework.
Source Compilation:
For developers interested in utilizing the latest development version (which may potentially exhibit high instability or incompatibility), clone the master branch of the repository and execute the make install command. This method necessitates Xcode 10.0 (Swift 4.2) as a prerequisite.
Install SDK via Carthage
To install NbmapNavigation framework using Carthage v0.38 or above:
-
(Optional) Clear your Carthage caches. If you have downloaded the SDK before, it is recommended to execute the following commands before updating the SDK

-
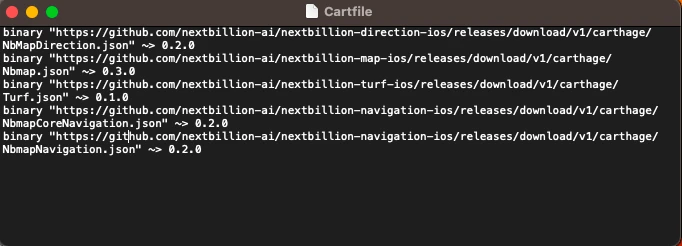
Create a Cartfile with the following dependency: Create Cartfile in the project directory

Open the Cartfile and copy the following dependencies in it
-
Run
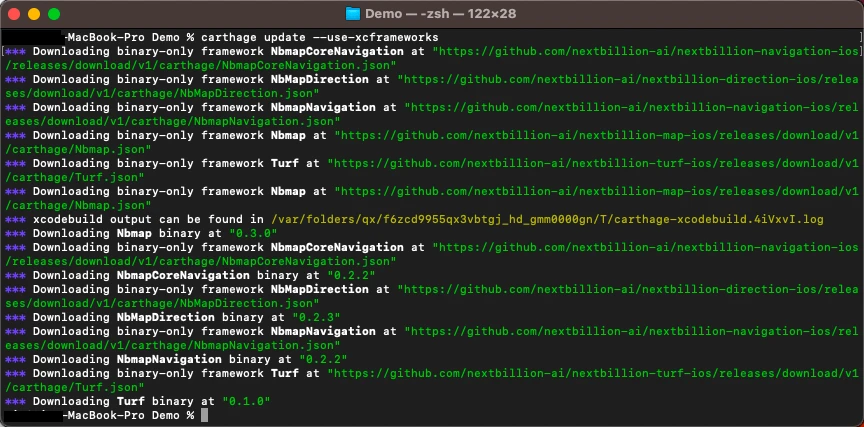
-
Link the following framework into your build phases:
Follow the below step-by-step guide to link the above-mentioned frameworks into your iOS project.
-
Open Your Xcode Project
- Launch Xcode and open your existing iOS project.
-
Navigate to Project Settings
-
In the Xcode project navigator, locate and select your project file (usually named with a “.xcodeproj” extension).
-
Click on your project's target to access the target settings.
-
-
Access Build Phases
- Within the target settings, navigate to the “Build Phases” tab.
-
Expand
Link Binary With Libraries- In the “Build Phases” tab, locate the “Link Binary With Libraries” section. If not already expanded, click the disclosure triangle to reveal the list of linked libraries and frameworks.
-
Add Frameworks
-
Click the "+" button below the list of frameworks to add a new framework.
-
In the search bar that appears, type the framework names to locate the necessary frameworks.
-
Once you see the frameworks in the search results, select them by clicking on them.
-
Click the "Add" button to add all the frameworks to your project.
-
-
Verify Inclusion
- Confirm that the frameworks added are now listed in the “Link Binary With Libraries” section.
-
Embedding framework Navigate to the “General” tab and find the “Frameworks, Libraries, and Embedded Content” section. Confirm that the linked frameworks are listed within this section. On the right side of the row corresponding to each framework name, click on the
Embedoption. ChooseEmbed & Signto ensure proper embedding and code signing for all the frameworks. -
Build and Run:
- Build and run your Xcode project to ensure that the required frameworks are successfully linked without any errors.
Additional Notes
-
Ensure that you are using the correct version of the framework compatible with your Xcode project and iOS deployment target.
-
If you encounter any issues during the linking process, double-check the framework version and compatibility.
By following these steps, you've successfully integrated all the required frameworks into your iOS project, enabling you to leverage its functionalities within your application.
Install SDK via CocoaPods
To add the Nextbillion Navigation SDK dependency with CocoaPods, you will need to configure your build to download the Navigation SDK from Nextbillion directly.
-
Create a Podfile with the following specification:
-
Execute pod repo update && pod install and open the resulting Xcode workspace.
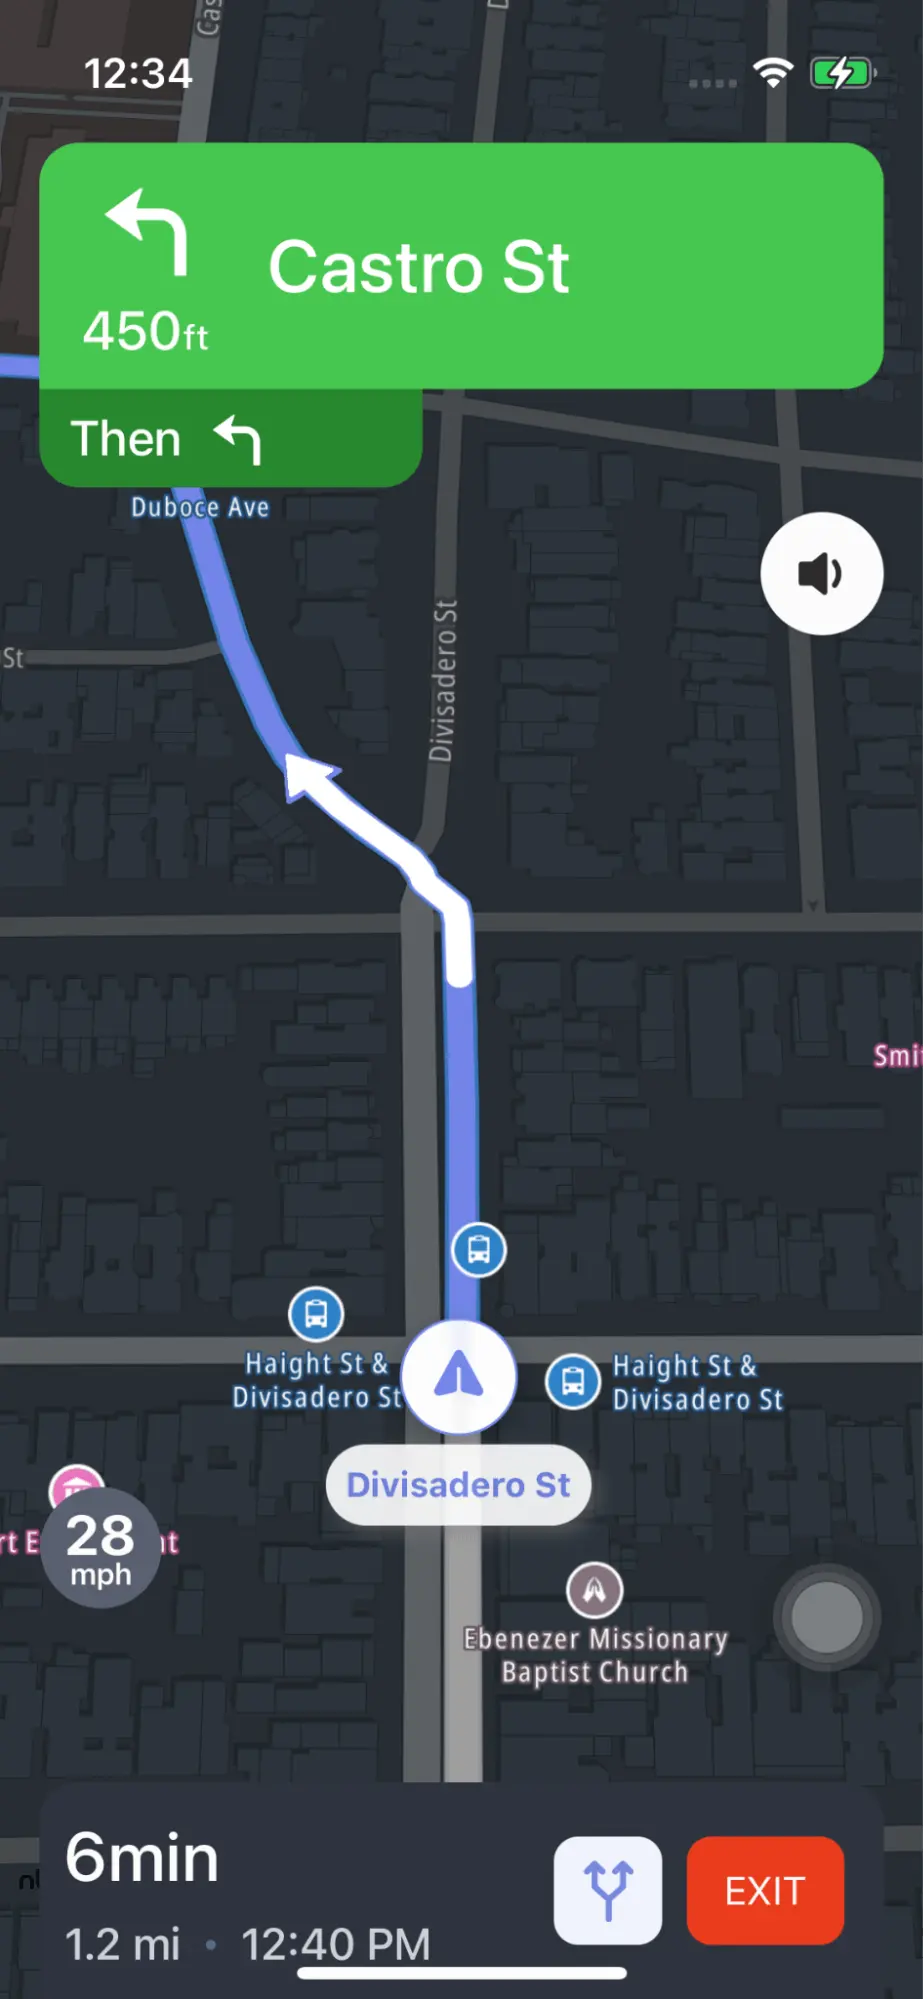
Quickstart Guide
This example shows how to start navigation with default settings:
-
How to fetch a route using default NavigationRouteOptions , the origin and destination are pre-defined fake locations
-
How to config and launch NavigationViewController with the requested route info
This code is a simple example of how to create a basic navigation app using fixed origin and destination coordinates. In a real-world app, you might want to find the user's location, let the user select the destination, handle errors and location permissions more thoroughly, customize the user interface, etc.
The above code is an example of how to add basic navigation functionality to an iOS application using the iOS Navigation SDK. It imports necessary frameworks and creates a BasicNavigationViewController that fetches a route between two locations using the NbmapDirections framework, initializes the navigation service with the fetched route, creates a NavigationViewController, sets some navigation options, and presents it. This code can be used as a starting point to build a navigation-enabled iOS app.