In this page

Basic navigation app

Add basic navigation functionality to an iOS application using the Navigation SDK for iOS.

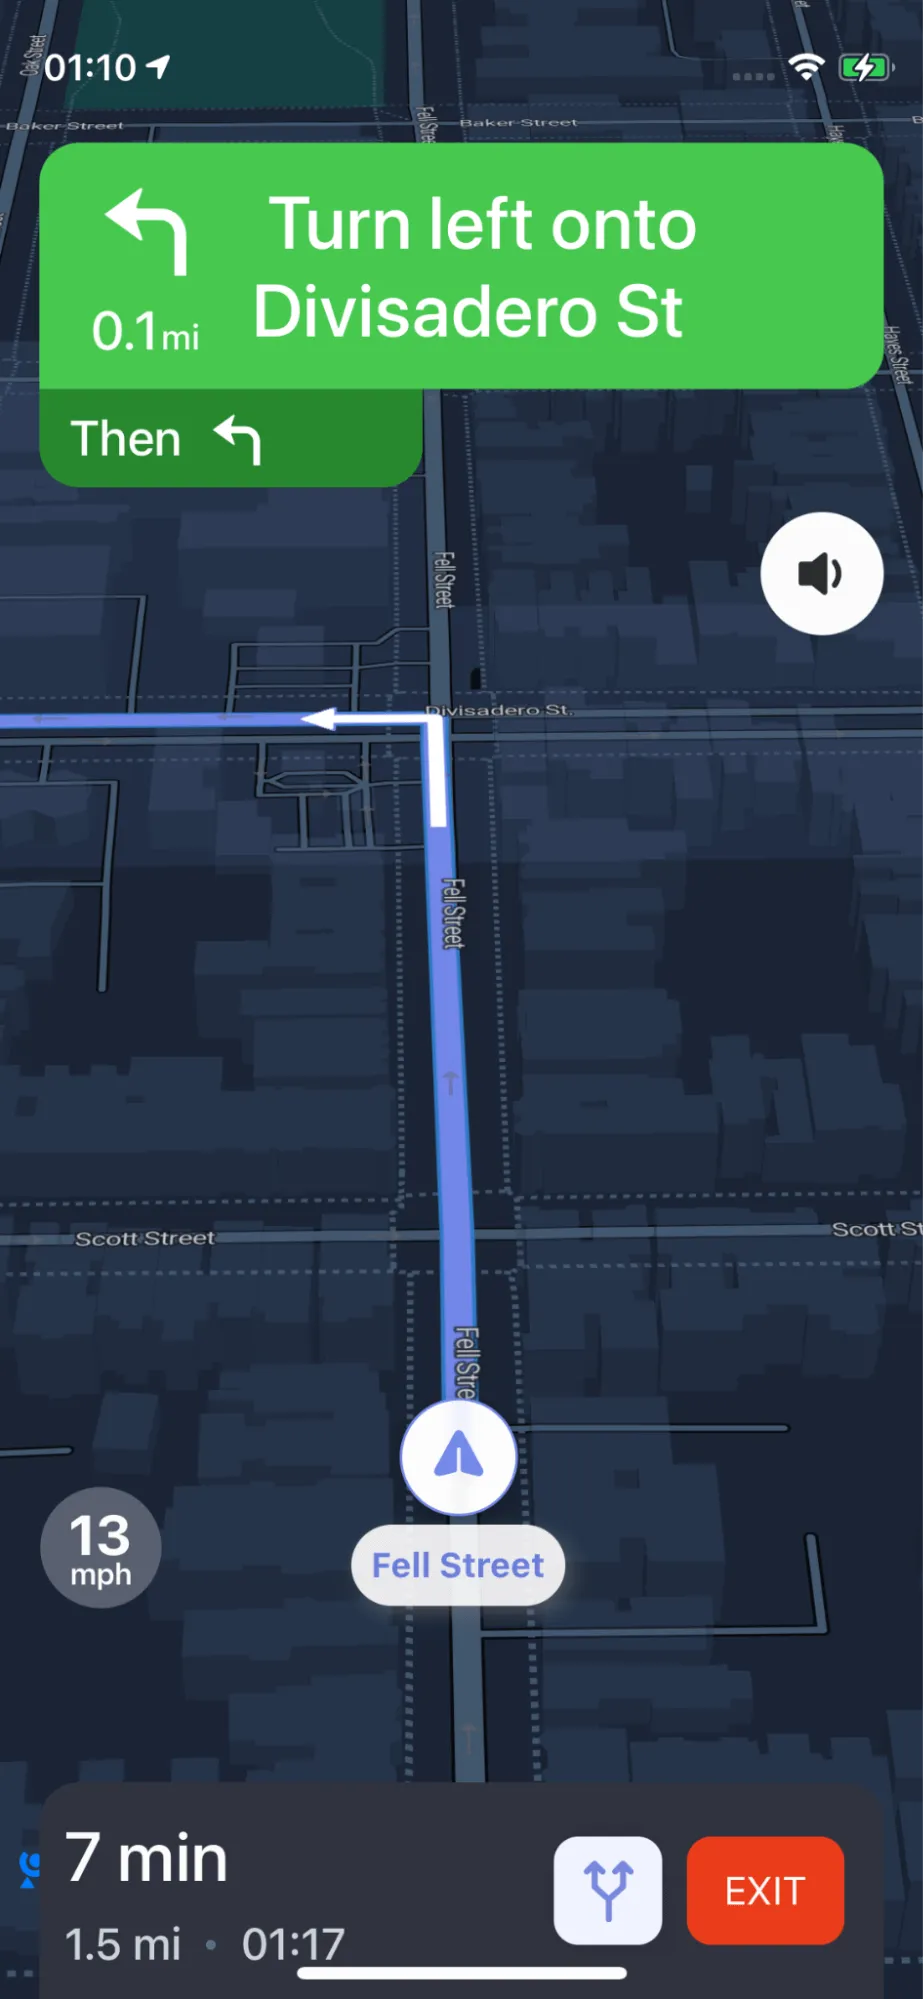
This example shows how to start navigation with default settings:

  1. How to fetch a route using default NavigationRouteOptions , the origin and destination are pre-defined fake locations

  2. How to config and launch NavigationViewController with the requested route info

This code is a simple example of how to create a basic navigation app using fixed origin and destination coordinates. In a real-world app, you might want to find the user's location, let the user select the destination, handle errors and location permissions more thoroughly, customize the user interface, etc.

For all code examples, refer to Navigation Code Examples

BasicNavigationViewController view source

1import UIKit
2import NbmapNavigation
3import NbmapCoreNavigation
4import NbmapDirections
5
6class BasicNavigationViewController: UIViewController {
7  
8   override func viewDidLoad() {
9       super.viewDidLoad()
10      
11      
12       let origin = CLLocation(latitude: 37.77440680146262, longitude: -122.43539772352648)
13       let destination = CLLocation(latitude: 37.76556957793795, longitude: -122.42409811526268)
14       let options = NavigationRouteOptions(origin: origin, destination: destination)
15       Directions.shared.calculate(options) { [weak self] routes, error in
16           guard let strongSelf = self else {
17               return
18           }
19           guard error == nil else {
20               print(error!)
21               return
22           }
23          
24           guard let routes = routes else { return }
25          
26          
27           // Initialize  NBNavigationService with the fetched routes, set routeIndex of the primary route to 0
28           let navigationService = NBNavigationService(routes: routes, routeIndex: 0)
29          
30           let navigationOptions = NavigationOptions(navigationService: navigationService)
31          
32           // Initialize the NavigationViewController
33           let navigationViewController = NavigationViewController(for: routes,navigationOptions: navigationOptions)
34          
35           // Set the delegate of navigationViewController to subscribe for NavigationView's events, This is optional
36           navigationViewController.modalPresentationStyle = .fullScreen
37          
38           // Render part of the route that has been traversed with full transparency, to give the illusion of a disappearing route.
39           navigationViewController.routeLineTracksTraversal = true
40          
41           // Start navigation
42           strongSelf.present(navigationViewController, animated: true, completion: nil)
43       }
44      
45   }
46  
47}

Breakdown 1 Import necessary libraries:

1import UIKit
2import NbmapNavigation
3import NbmapCoreNavigation
4import NbmapDirections

These imports allow us to use components from the UIKit, NbmapNavigation, NbmapCoreNavigation, and NbmapDirections libraries, which are essential for creating a navigation app.

2 Define the BasicNavigationViewController class:

1class BasicNavigationViewController: UIViewController {

This class extends UIViewController, which is a basic building block for creating user interfaces in iOS apps.

3 Implement the viewDidLoad() method:

1override func viewDidLoad() {
2   super.viewDidLoad()

This method is called when the view controller's view is loaded into memory. It is the place where we set up the necessary elements for our navigation app.

4 Set the origin and destination:

1
2let origin = CLLocation(latitude: 37.77440680146262, longitude: -122.43539772352648)
3let destination = CLLocation(latitude: 37.76556957793795, longitude: -122.42409811526268)

These two lines define the origin and destination points using fixed latitude and longitude coordinates.

5 Create navigation options and request a route:

1let options = NavigationRouteOptions(origin: origin, destination: destination)
2Directions.shared.calculate(options) { [weak self] routes, error in

We create a NavigationRouteOptions object that includes the origin and destination, then use the Directions.shared.calculate() method to request the route(s). This method takes a completion handler, which will be executed once the route calculation is completed.

6 Check for errors and process the received routes:

1guard let strongSelf = self else {
2    return
3}
4guard error == nil else {
5    print(error!)
6    return
7}
8
9guard let routes = routes else { return }

These lines check if there are any errors and if any routes have been returned. If there's an error, it prints the error message, and if there are no routes, it returns immediately.

7 Initialize the navigation service:

1let navigationService = NBNavigationService(routes: routes, routeIndex: 0)

We create an NBNavigationService object using the fetched routes and set the primary route's index to 0 (the first route).

8 Create navigation options and the navigation view controller:

1let navigationOptions = NavigationOptions(navigationService: navigationService)
2let navigationViewController = NavigationViewController(for: routes, navigationOptions: navigationOptions)

We create a NavigationOptions object using the navigation service, and then we create a NavigationViewController that will display the navigation using the routes and options.

9 Customize the navigation view controller:

1navigationViewController.modalPresentationStyle = .fullScreen
2navigationViewController.routeLineTracksTraversal = true

We set the modal presentation style to .fullScreen so that the navigation view covers the entire screen. Additionally, we enable the route line to track traversal, which makes the traversed part of the route line disappear as the user moves along the route.

10 Start the navigation:

1strongSelf.present(navigationViewController, animated: true, completion: nil)

Finally, we present the NavigationViewController to start the navigation. The animated: true parameter makes the transition to the navigation view animated.

DIDN'T FIND WHAT YOU LOOKING FOR?