MapView Style
introduction
This Example Shows:
- Display a MapView Widget
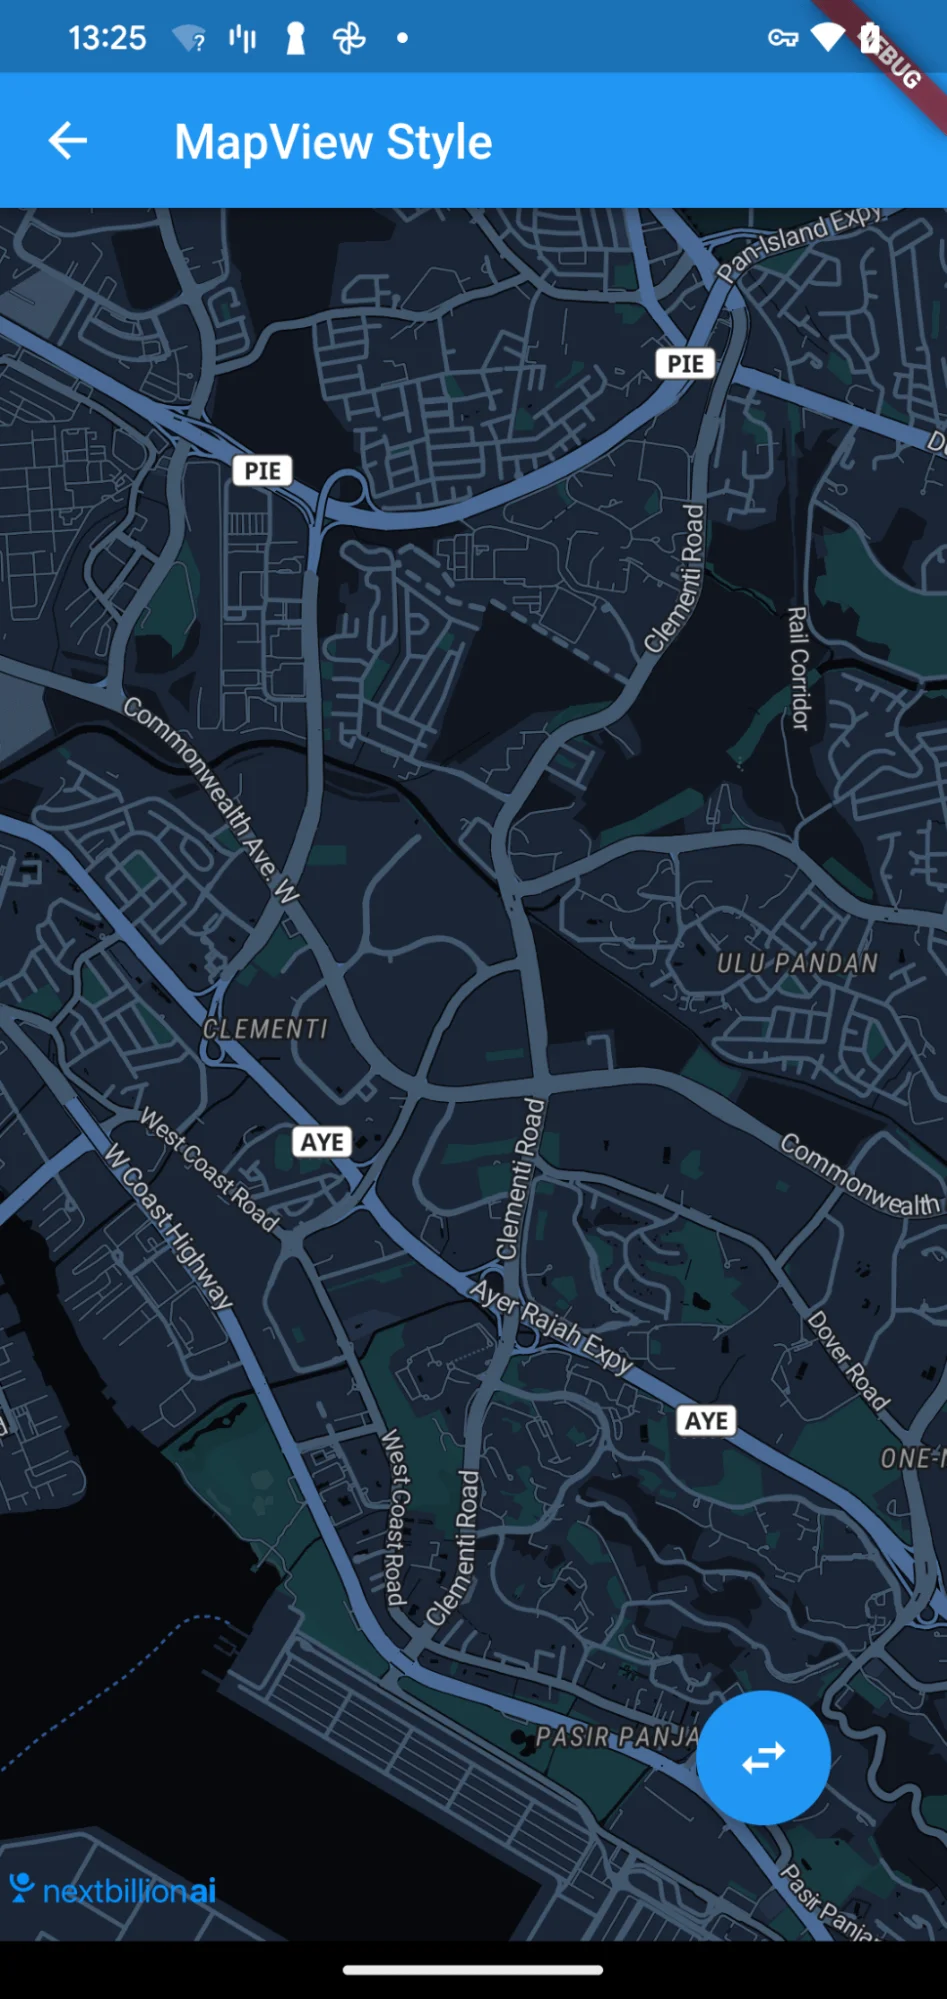
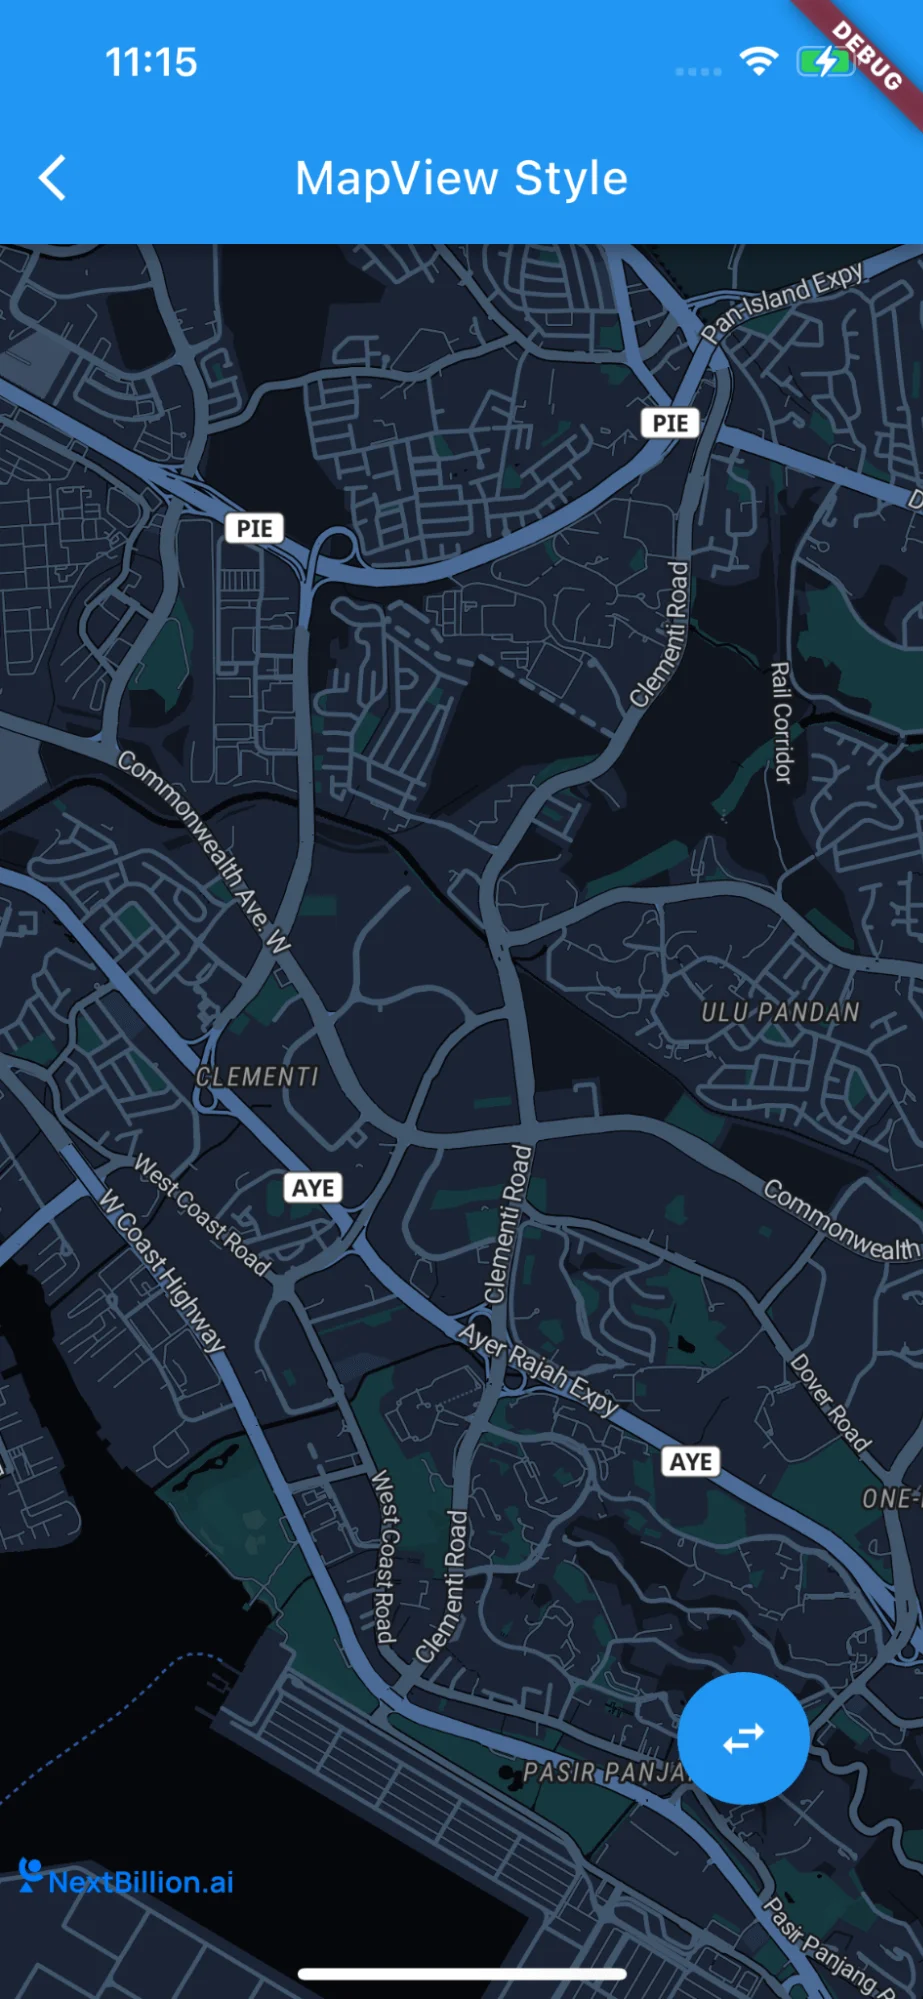
- Update mapview style by setting the styleString in NBMap Widget
For all code examples, refer to Flutter Navigation Code Example
MapViewStyle view source
Code summary
The above code snippet demonstrates how to display a map view widget using nb_maps_flutter and how to update the map view style dynamically between light and dark modes.
Display a MapView Widget:
-
The MapViewStyle widget is the main entry point of the application.
-
The _onMapCreated function is called when the map is created, and it sets the map controller to be used for controlling the map.
-
The NBMap widget from the nb_maps_flutter package is used to display the map. It is positioned in a Stack widget along with the "FloatingActionButton" widget.
Update MapView Style:
-
The isLight variable is used to determine whether the map view style should be light or dark. It is initially set to true, indicating the light mode.
-
A "FloatingActionButton" is provided at the bottom right corner of the screen, allowing the user to toggle between light and dark styles by pressing the "swap_horiz" icon.
-
When the FloatingActionButton is pressed, the setState function is called to update the isLight variable, toggling it between true and false.
-
The styleString property of the NBMap widget is used to set the map view style. If isLight is true, the light style is applied (NbMapStyles.LIGHT), otherwise, the dark style is applied (NbMapStyles.DARK).
When the app is launched, it displays a map view with the initial light mode. When the "FloatingActionButton" is pressed, the map view style toggles between light and dark modes dynamically. Please ensure that you have the necessary permissions and API keys set up to use the mapping services properly.

