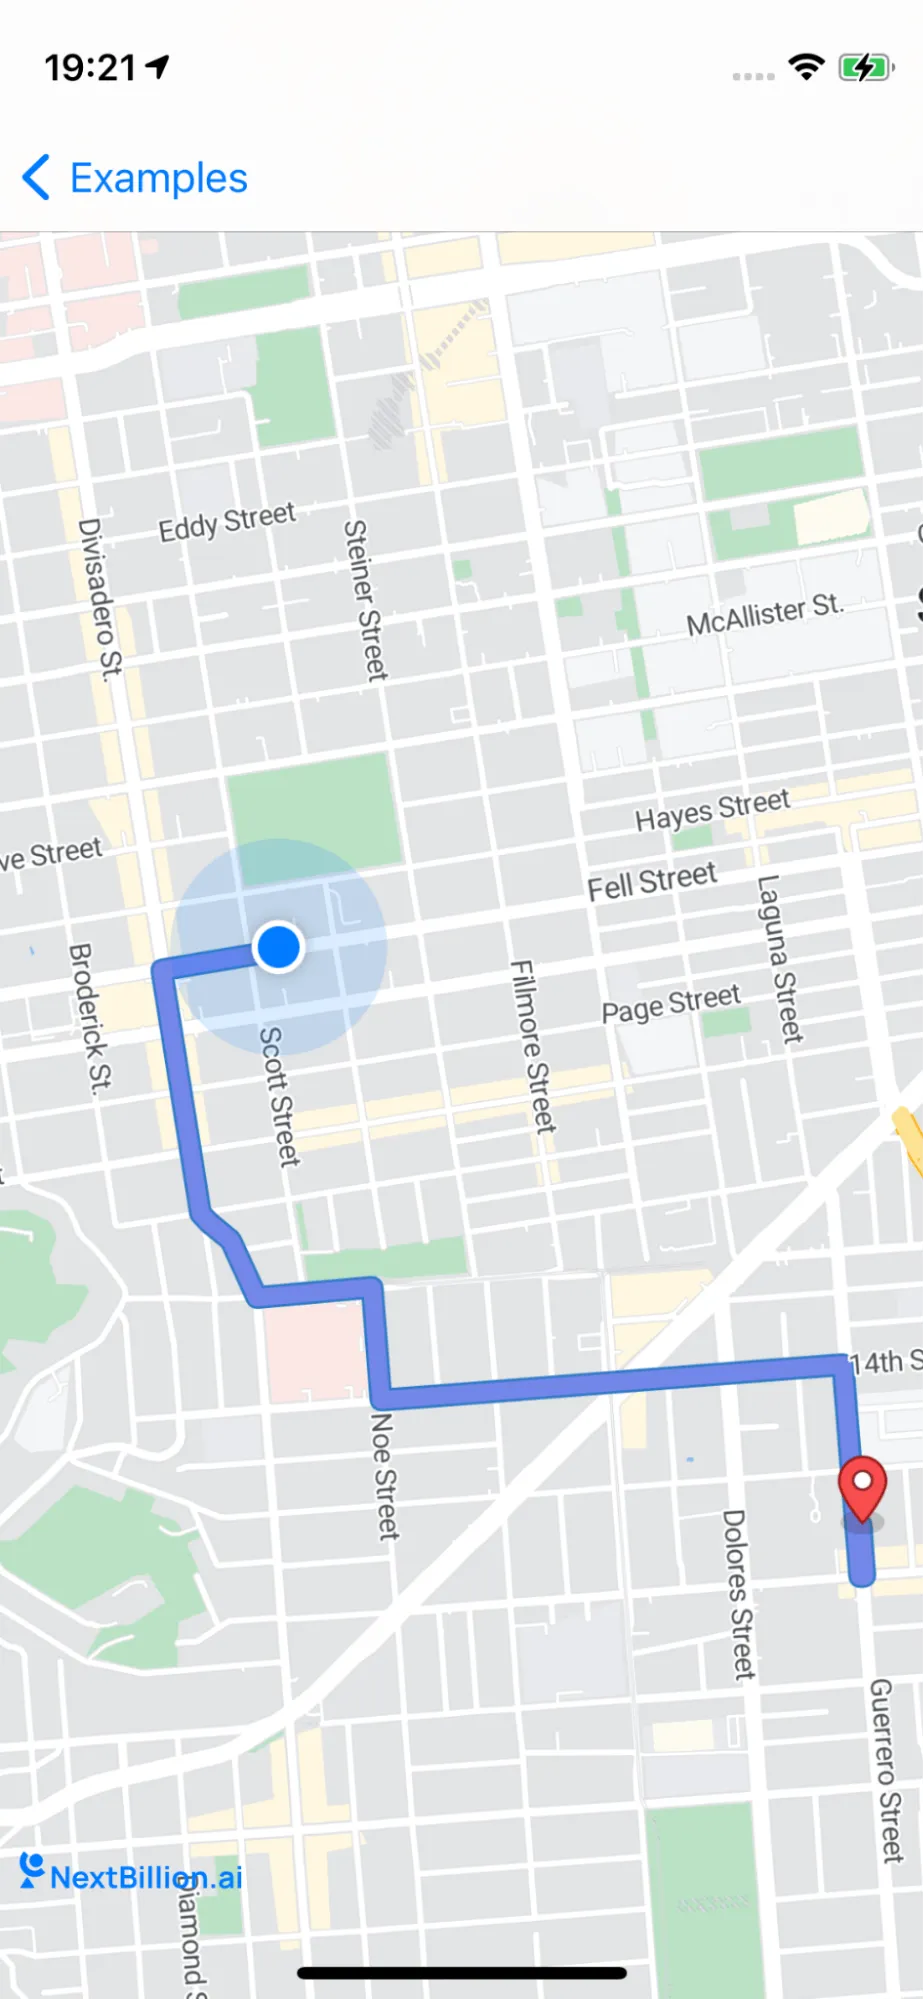
Draw Route Line on NavigationMapView
Specify a source and destination and watch as the requested route is displayed on the map, enabling users to visualize their journey.
This example shows how to request and draw a route in the NavigationMapView:
-
It first requests a simple route from the given source and destination location
-
Then the given route will be shown in the NavigationMapView

For all code examples, refer to Navigation Code Examples
DrawRouteLineViewController view source
The code first imports the following frameworks:
-
UIKit
-
NbmapNavigation
-
NbmapCoreNavigation
-
NbmapDirections
-
Nbmap
These frameworks provide the necessary functionality to create a map view, request routes, and draw the routes on the map.
The next part of the code defines a class called DrawRouteLineViewController. This class inherits from UIViewController and implements the NGLMapViewDelegate protocol.
The DrawRouteLineViewController class has the following properties:
-
navigationMapView: A NavigationMapView object that is used to display the map.
-
routes: An array of Route objects that contain the route information.
The DrawRouteLineViewController class also has the following methods:
-
viewDidLoad(): This method is called when the view controller is loaded. It initializes the map view and requests routes from the Directions API.
-
requestRoutes(): This method requests routes from the Directions API. The method takes two parameters: the origin location and the destination location.
-
directionsDidCalculate(): This method is called when the Directions API finishes calculating the routes. The method takes two parameters: an array of Route objects and an error object.
-
showRoutes(): This method displays the routes on the map.
-
showWaypoints(): This method displays the waypoints on the map.
The DrawRouteLineViewController class can be used to create a map view that displays a route between two locations. The route can be customized by setting the options property of the requestRoutes() method.
