Usage
The NextBillion.ai Flutter Navigation SDK empowers you to integrate advanced navigation capabilities into your Flutter application. Follow these steps to utilize the SDK effectively:
NB Maps
If you need to use Map-related functions, such as displaying a Map widget, please refer to our Flutter Maps Plugin Documentation.
Fetch routes
To request routes, use RouteRequestParams with NBNavigation. For supported parameters, please refer to Navigation API documentation.
Create the RouteRequestParams object with the required parameters:
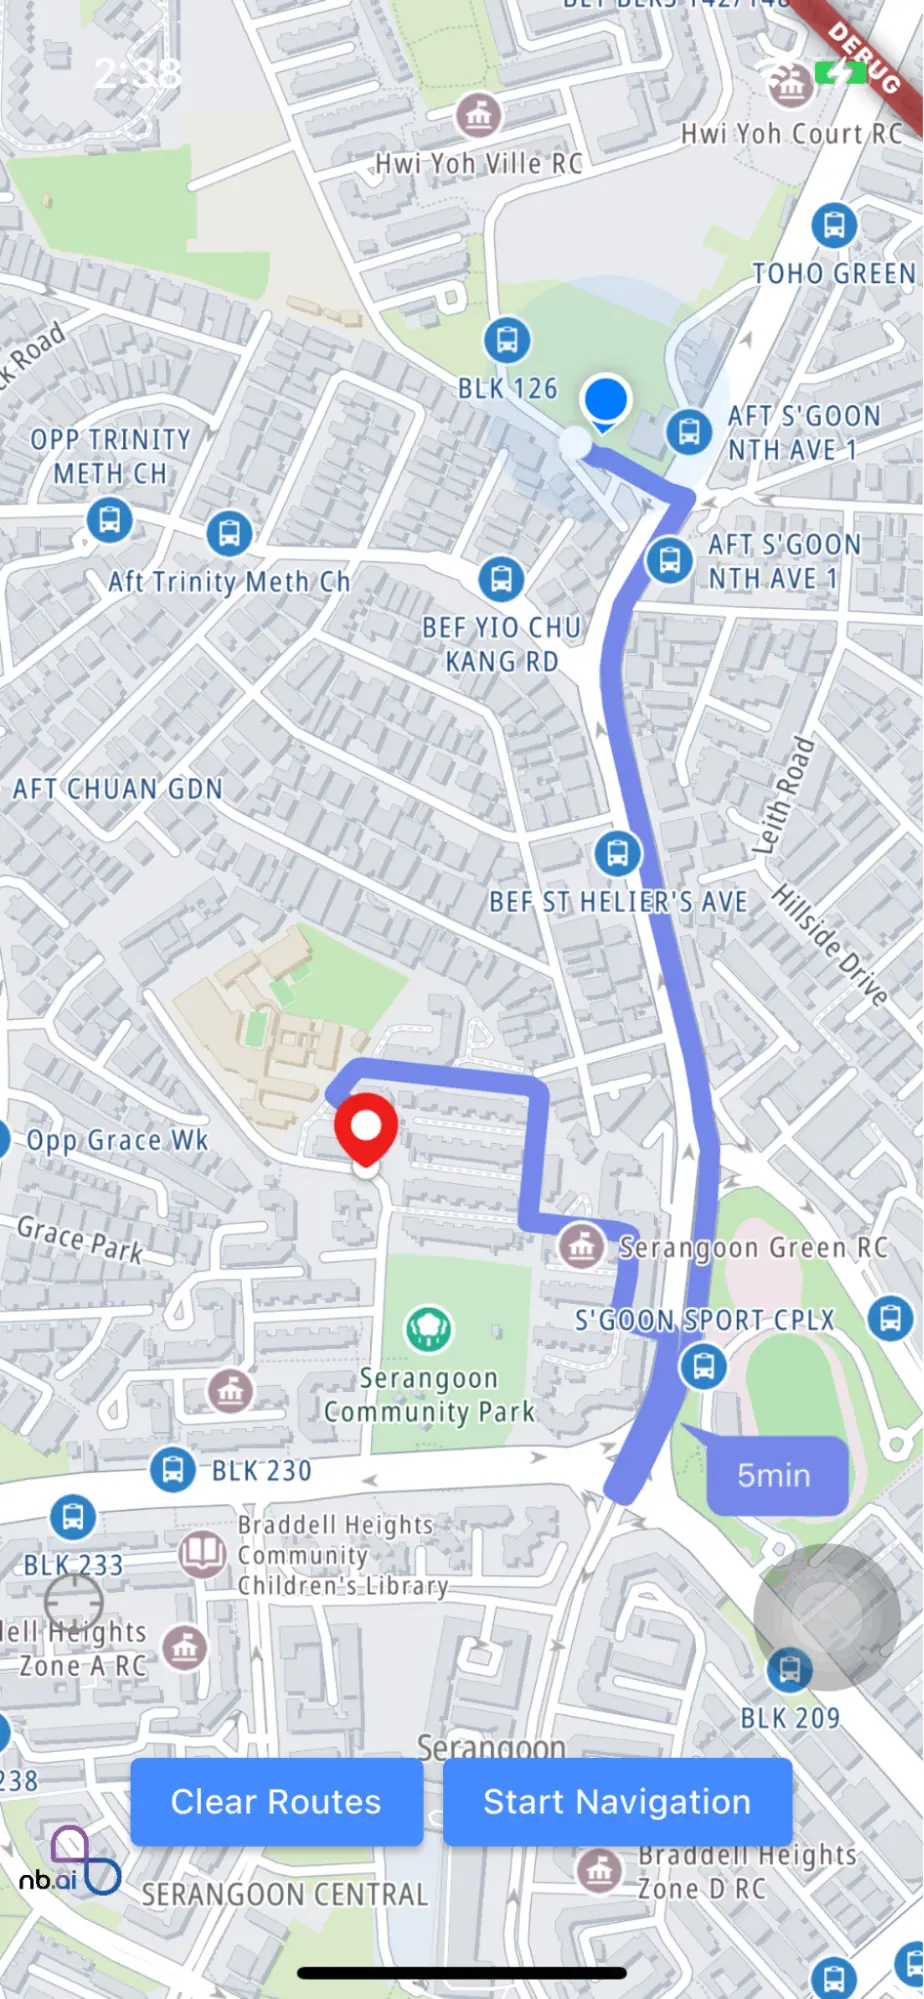
Fetch routes
Use NBNavigation.fetchRoute() to fetch routes with the specified requestParams, and get the route response DirectionsRouteResponse, the response will contain the route info.
Draw routes
After obtaining the routes, you can draw routes on the map view using NavNextBillionMap. Ensure you have the NextbillionMapController created in the onMapCreated callback of the NBMap widget. Refer to Flutter Maps Plugin documentation for more information.
Create NavNextBillionMap with NextbillionMapController in NBMap widget’s onStyleLoaded callback:
Draw routes
Once you have the NavNextBillionMap instance, draw the routes on the map view:
Clear routes
To remove the drawn routes from the map view, use clearRoute():
Toggle Alternative Route Visibility
You can toggle the visibility of alternative routes on the map:
Toggle Route DurationSymbol Visibility
Toggle the visibility of the route duration symbol on the map:
Add RouteSelected Listener.
You can add route switching listener in the onMapClick callback:
Start navigation
To initiate navigation, use NavigationLauncherConfig. The following properties can be configured as per your preference:
-
route: The selected route for directions
-
routes: A list of available routes
-
themeMode: The theme mode for navigation UI, default value is system
-
system: follows system theme mode
-
light: applies light theme
-
dark: applies dark theme
-
-
locationLayerRenderMode: The rendering mode for the location layer, default value is LocationLayerRenderMode.GPS.
-
shouldSimulateRoute: Whether to simulate the route during navigation, default value is false.
-
enableDissolvedRouteLine: Whether to enable the dissolved route line during navigation, default value is true.
-
navigationMapStyleUrl: Indicates the map style in the Navigation view. Its priority is higher than the navViewMapStyle of (CustomNavigationViewLight, CustomNavigationViewDark) set in the
styles.xmlfor Android and the mapStyleURL of (customDayStyle, customNightStyle) set in theAppDelegatefor iOS.
Launch Embedded NavigationView
NBNavigationView is a customizable navigation view widget designed to provide seamless navigation experiences in your Flutter application. It offers various configuration options to cater to different navigation requirements, such as theme modes, location layer render modes, and custom styles.
- Important : If you want to use the NavigationView, you need to make the MainActivity extend FlutterFragmentActivity instead of FlutterActivity in the Android project.
NBNavigationView Widget
Parameters
By utilizing the NavigationLauncherConfig class, you can customize the navigation experience to meet your specific needs, from theme settings to location layer modes and custom styles.
- navigationOptions (required): This parameter provides the necessary configuration for the navigation view.
- onNavigationViewReady: A callback that is triggered when the navigation view is ready.
- onProgressChange: A callback that is triggered when there is a change in the navigation progress.
- onNavigationCancelling: A callback that is triggered when navigation is being canceled.
- onArriveAtWaypoint: A callback that is triggered when arriving at a waypoint.
- onRerouteFromLocation: A callback that is triggered when rerouting from a specific location.
Example Usage