Getting Started
The section offers a comprehensive guide on seamlessly integrating the SDK into your existing iOS application. Whether starting a new project or enhancing an existing one, this section provides step-by-step instructions to ensure a smooth integration process.
-
To begin, the section covers the prerequisites, outlining the requirements you need to meet before integrating the iOS Maps SDK. This includes any necessary software versions or frameworks that need to be installed.
-
Next, the section walks you through installing Carthage, a dependency manager and the Maps SDK itself. Carthage simplifies the process of adding external frameworks to your project, making the integration process efficient and hassle-free.
-
Once the necessary dependencies are in place, the section guides you through the configuration of your application. This involves setting up the necessary API key, configuring permissions and any other relevant configurations to ensure seamless functionality.
-
With the initial setup complete, the section then focuses on displaying the first MapView in your application. By following the provided instructions, you'll be able to showcase a map interface within your app, ready for further customization and interaction.
-
Finally, the section covers the crucial aspect of plotting annotations on the MapView. Annotations serve as markers on the map, representing points of interest or specific locations. You'll learn how to add and customize these annotations, enabling you to enrich your map with relevant information and visuals.
Prerequisites
Before integrating the iOS Maps SDK into the application, there are a few prerequisites that need to be fulfilled:
-
Access Key: To utilize the iOS Maps SDK, you'll need an Access Key. If you haven't obtained one yet, feel free to contact us to obtain the necessary credentials.
-
Xcode 13.2.1: Ensure that you have Xcode 13.2.1, or a compatible version, installed on your development machine. Xcode is the integrated development environment (IDE) used for iOS app development, and having the appropriate version is crucial for a smooth integration process.
-
Minimum deployment target: The minimum deployment target for your application should be iOS 11.0 or later. This ensures compatibility with a wide range of iOS devices and allows your app to reach a broader user base.
-
Carthage v0.39 or above
By meeting these prerequisites, you'll be ready to proceed with the integration of the iOS Maps SDK by Nextbillion.ai.
Installation
Before integrating any map-related features into an iOS application, it is essential to install the Nextbillion iOS Maps SDK within the iOS development environment.
This installation process involves configuring Xcode project settings and adding the required dependencies to the projects. This guide aims to give developers an overview of the necessary steps to install the iOS Maps SDK, empowering them to seamlessly integrate advanced navigation functionalities into their iOS applications.
Create Your Project Folder
[Note: Skip this step, if you have an existing iOS project.]
Before proceeding with the instructions below, you'll need to set up your project folder. You can do this by either creating a new empty iOS app project in Xcode or by cloning one from our official GitHub repository.
Creating a New Project in Xcode
-
Open Xcode and go to
File>New>Project. -
In the popup window, choose
iOS>Appand clickNext. -
Fill in your project details on the subsequent screen, and then click
Nextto create your empty project.
Alternatively, Cloning from GitHub
If you prefer to start with our official demo code repository from GitHub, you can use the following command-line instructions
In the next section, we will execute specific commands within this project to complete the configuration. This step ensures you have the necessary project structure in place to seamlessly integrate the NextBillion.ai iOS Maps SDK.
SDK Installation
Install Carthage
According to the official docs of Carthage:
Carthage is intended to be the simplest way to add frameworks to your Cocoa application.
Carthage builds your dependencies and provides you with binary frameworks, but you retain full control over your project structure and setup. Carthage does not automatically modify your project files or your build settings.
There are multiple options for installing Carthage:
-
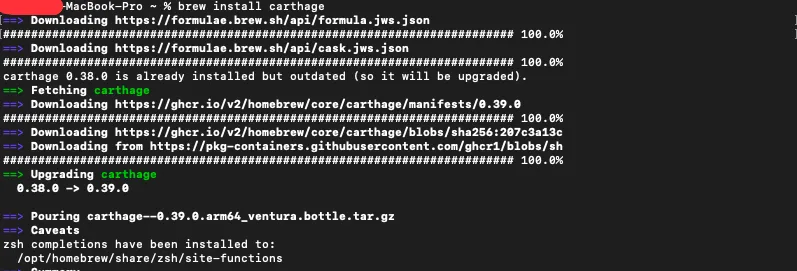
(Recommended) Homebrew: You can use Homebrew and install the carthage tool on your system simply by running brew update and brew install carthage.
Note: If you previously installed the binary version of Carthage, you should delete /Library/Frameworks/CarthageKit.framework.
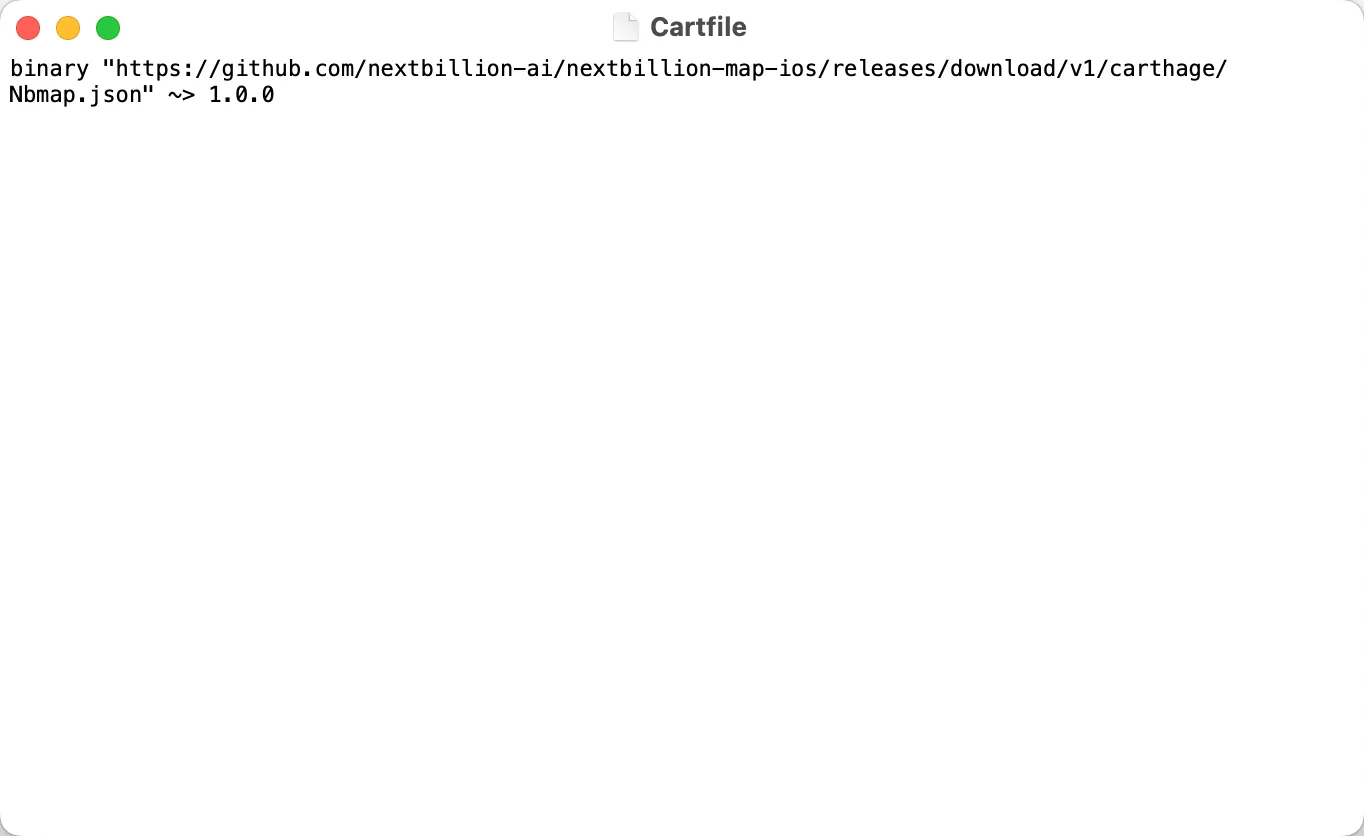
Open the Cartfile and Copy in the following dependencies in it
- Run Carthage Update
To install the Nbmap framework using Carthage v0.39 or above follow these steps:
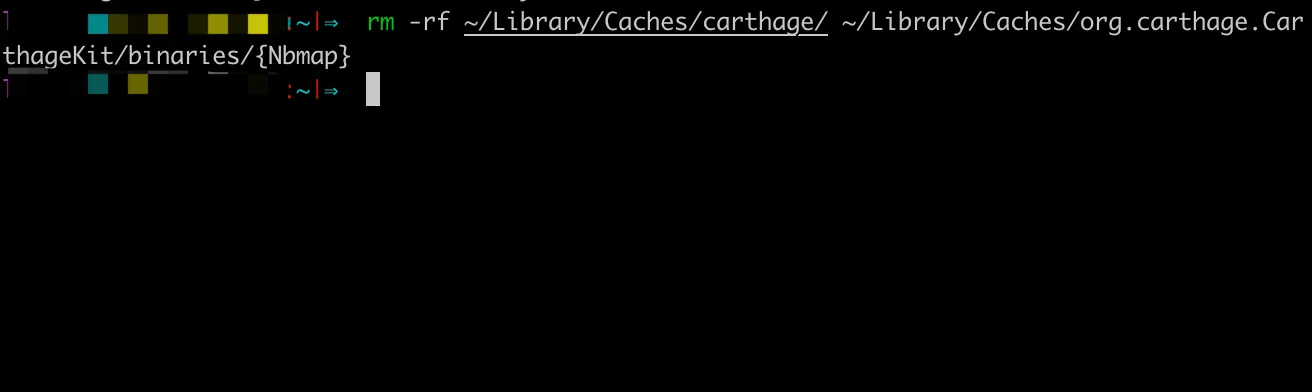
1. (Optional) Clear Carthage Caches
If you've previously downloaded the SDK, it's a good practice to clear your Carthage caches before updating. Execute the following commands:
-
Link Frameworks
In you project directory, create a Cartfile using the following command:
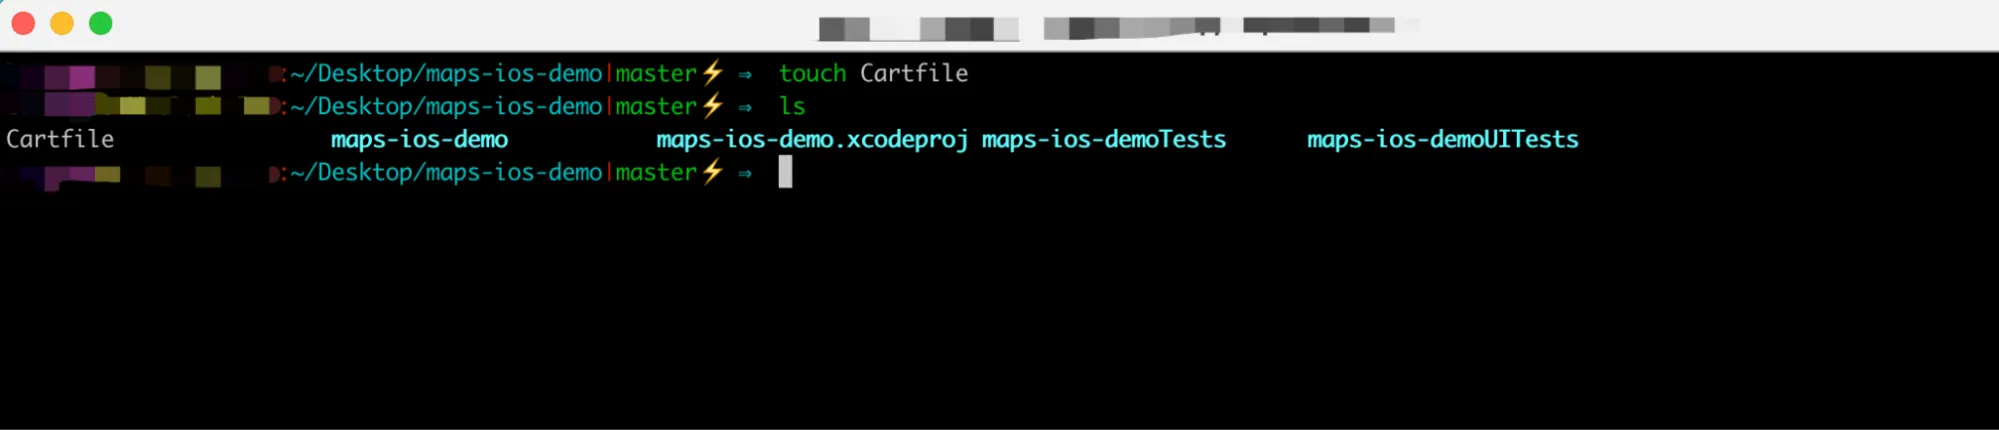
Open the Cartfile and Copy in the following dependencies in it
3. Run Carthage Update
Execute the following command to update the dependencies using
xcframeworks.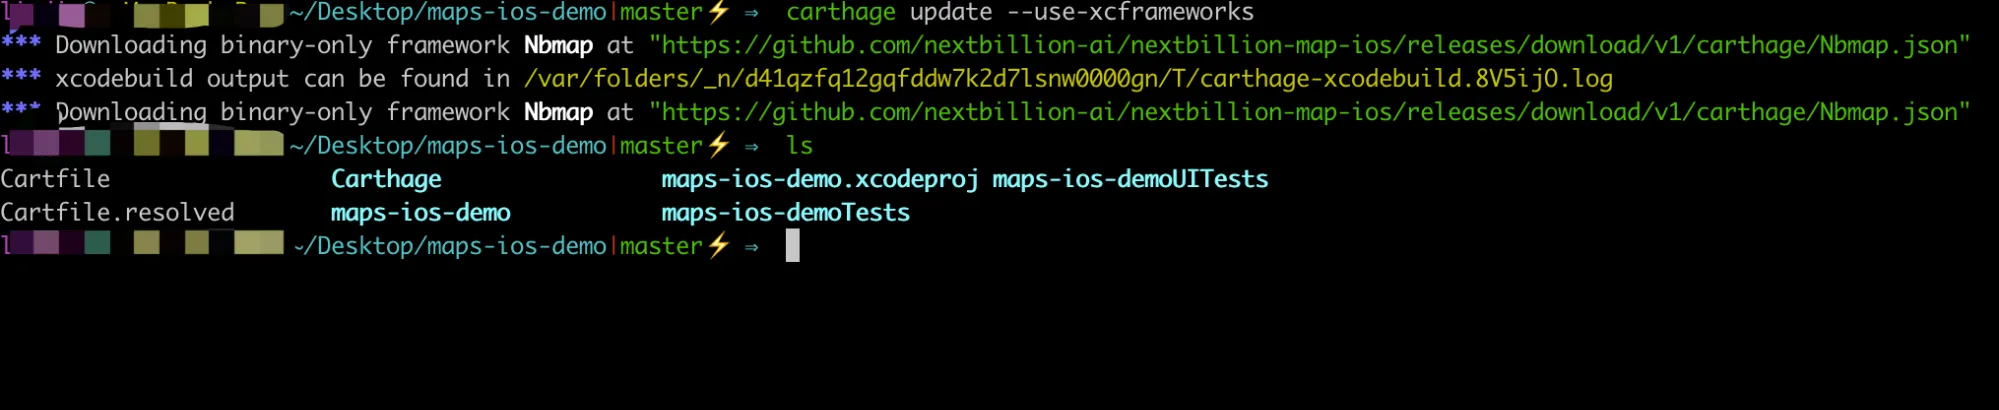
4. Link Frameworks
In your Xcode project, navigate to your build phase and link the following framework.
Follow the below step-by-step guide to link Nbmap Framework into your iOS project.
-
Open Your Xcode Project
- Launch Xcode and open your existing iOS project.
-
Navigate to Project Settings
-
In the Xcode project navigator, locate and select your project file (usually named with a .xcodeproj extension).
-
Click on your project's target to access the target settings.
-
-
Access Build Phases
- Within the target settings, navigate to the
Build Phasestab.
- Within the target settings, navigate to the
-
Expand
Link Binary With Libraries- In the
Build Phasestab, locate theLink Binary With Librariessection. If not already expanded, click the disclosure triangle to reveal the list of linked libraries and frameworks.
- In the
-
Add Nbmap Framework
-
Click the "+" button below the list of frameworks to add a new framework.
-
In the search bar that appears, type "Nbmap" to locate the Nbmap framework.
-
-
Select and Add Nbmap Framework
-
Once you see the Nbmap framework in the search results, select it by clicking on it.
-
Click the "Add" button to add the Nbmap framework to your project.
-
-
Verify Inclusion
- Confirm that Nbmap.framework is now listed in the
Link Binary With Librariessection.
- Confirm that Nbmap.framework is now listed in the
-
Embedding framework Navigate to the
Generaltab and find theFrameworks, Libraries, and Embedded Contentsection.-
Confirm that
Nbmap.xcframeworkis listed within this section. -
On the right side of the row corresponding to
Nbmap.xcframework, click on theEmbedoption. -
Choose
Embed & Signto ensure proper embedding and code signing forNbmap.xcframework.
-
-
Build and Run:
- Build and run your Xcode project to ensure that the Nbmap framework is successfully linked without any errors.
Additional Notes
-
Ensure that you are using the correct version of Nbmap.framework compatible with your Xcode project and iOS deployment target.
-
If you encounter any issues during the linking process, double-check the framework version and compatibility.
By following these steps, you've successfully integrated the Nbmap framework into your iOS project, enabling you to leverage its functionalities within your application.
Configuration
The "Configuration" section of the iOS Maps SDK by Nextbillion provides instructions on how to configure important settings to enable the proper functioning of the SDK within your iOS application. This section covers two key configurations: Access Key and Base URI.
Access Key
In order to utilize Nextbillion's Maps and SDK, you need to specify your secret key as NBMapAccessKey in the Info.plist file. This access key serves as the authentication mechanism to ensure secure access to Nextbillion.ai's mapping services.

Base URI (Optional)
Similarly, we can configure a different base Uri if applicable by specifying the base uri as NBMapBaseUri in the info.plist file.